
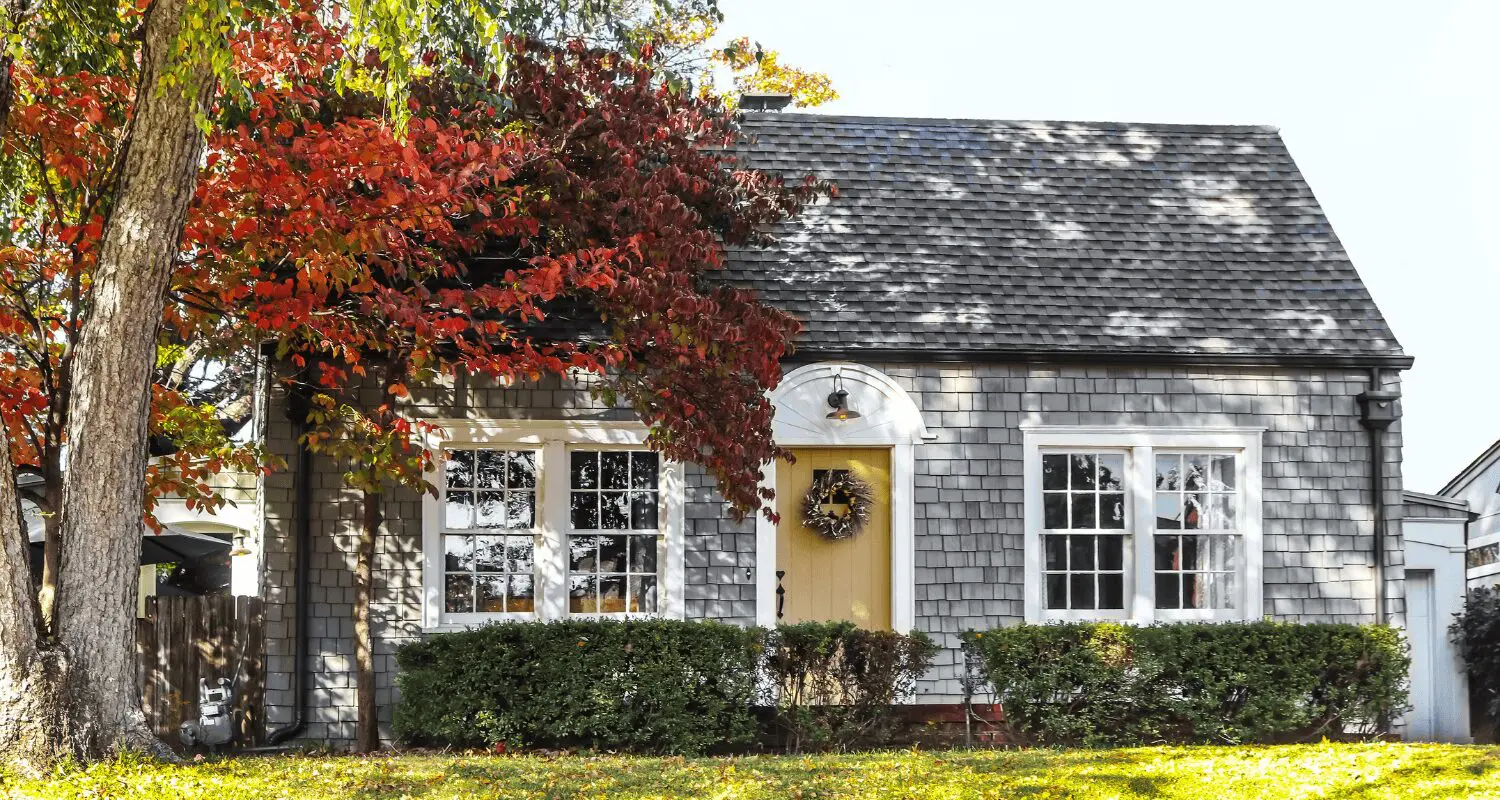
If you own an older home, the outside often tells the truth before the inside does. The right order of repairs is simple in principle: fix anything that risks water intrusion, safety, or structural integrity first.
Then seal the building envelope (roof, flashing, siding, windows, doors), tackle energy leaks, and finish with cosmetics like paint and landscaping.
Done in this order, you spend less and extend the life of everything else.
Key points- what to prioritize in exterior repairs
- Start with safety, structure, and water control; cosmetics come last.
- Work top-down: roof and gutters → flashing → siding → windows/doors → foundation.
- Stop active leaks and rot before addressing paint or appearance.
- Preserve historic fabric where possible with targeted repairs, not unnecessary replacements.
- Time projects to seasons (roofing in dry spells, painting in shoulder seasons).
- Group tasks that share equipment (scaffolding, lifts) to save money.
Do a one-hour curbside audit to set the order
You can prioritize confidently after a focused, top-to-bottom scan. Bring a notepad, binoculars, and a moisture meter if you have one. Stand across the street and look for patterns rather than isolated flaws.
- Roofline ─ wavy ridges, missing shingles, moss at valleys, or shiny exposed nails suggest near-term work.
- Water management ─ overflowing or detached gutters, downspouts ending near the foundation, or eroded soil at drip lines point to water risk.
- Envelope and joinery ─ peeling paint that exposes bare wood, soft sills, open siding joints, and cracked caulk indicate moisture entry.
- Masonry and foundation ─ stair-step cracks, spalling bricks, or damp patches call for closer investigation.
Turn these notes into a three-tier list: urgent (now), soon (this season), and planned (12–24 months). That list will drive everything else.
This is what usually goes – let’s see the table:
Exterior Repair Priorities and Cost Guide (USD)
| Tier | What to do | Typical cost (USD) |
| Urgent (now) | Roof leak & flashing repair (per penetration) | $475–$1,360 |
| Roof patching (localized, per m²) | $150–$220/m² | |
| Gutter fixes + downspout extensions | $60–$175/m; extensions $12–$60 each | |
| Window/trim rot patch (per opening) | $200–$545 | |
| Soon (this season) | Draft-proof windows/doors | $70/window or ~$340 basic whole-house |
| Siding spot repairs (small patches) | $270–$410/day (typical day rate) | |
| Targeted masonry repointing | $27–$82/m² | |
| Planned (12–24 months) | Roof section replacement (or reroof, per m²) | $85–$175/m² |
| Full gutter replacement (~30 m run) | $350–$870 (base metals) | |
| Exterior repaint (small home) | $2,040–$4,080 |
Safety, structure, and water control come first
Nothing outranks keeping water out and the structure sound. Even small leaks can cascade into framing rot, mold, and ruined finishes.
Prioritize in this order:
- Active leaks ─ Roof penetrations (chimneys, vents, skylights) and failed flashings are frequent culprits. Replace damaged shingles, re-flash penetrations, and reseal nail heads.
- Gutters and downspouts ─ Clean them, repair seams, add hangers where sagging, and extend downspouts 1.8–3 m away from the foundation.
- Grading and drainage ─ Regrade soil to slope away from the house; check that splash blocks or extensions direct water clear of walkways and planting beds.
- Structural red flags ─ Spongy porch boards, loose railings, settling posts, or rusted steel supports deserve immediate attention.
A good rule: if water can get in or people can get hurt, it moves to the top of the list.
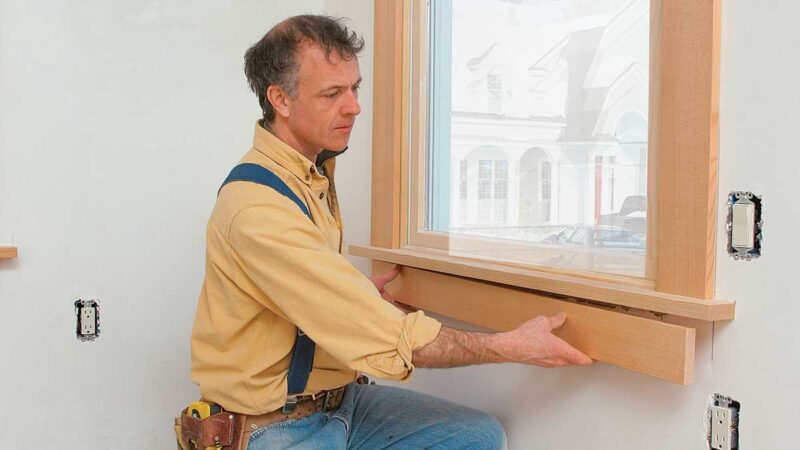
Windows, doors, and trim ─ small failures, big consequences
Windows and doors are frequent points of hidden damage in older homes. Look for soft sills, flaking paint, failed glazing putty, and dark staining around trim. Addressing these early prevents siding and sheathing damage.
Where repair beats replacement, targeted carpentry keeps character and saves money. If you’re dealing with cracked sills, deteriorated muntins, or punky casings, a professional window frame repair service can stabilize the wood, splice in sound sections, and seal against future moisture without losing the original look. After wood stabilization, prime with a bonding primer, back-prime new pieces, and reinstall with proper flashing tape and high-quality sealant.
Quick wins here include adjusting door thresholds, adding weatherstripping, and replacing broken storms. They punch above their weight in comfort and energy savings.
The top-down hierarchy of the building envelope
Repairs flow most logically from the roof down:
- Roofing and flashings ─ Replace brittle or curling shingles and renew flashings at every junction (walls, dormers, chimneys). Flashing mistakes, not shingles, cause most leaks.
- Siding and cladding ─ Caulk is not a band-aid. Open joints should be fixed with proper laps, backer rods, and the correct sealant for the material. Replace only the boards that have lost structural strength; otherwise, sand, epoxy-consolidate, and repaint.
- Penetrations and fixtures ─ Dryer vents, hose bibs, light fixtures, and satellite mounts often lack proper boots or flashings. Re-flash and seal, then mount with stand-offs so water can drain.
Treat each item like a shingle on a roof—upper details must always overlap lower ones so water sheds away from the house.
Masonry and foundation ─ breathe, drain, relieve
Older brick and stone assemblies were designed to breathe. Avoid trapping moisture.
- Repointing ─ Use mortar compatible with historic brick (often softer, lime-rich mixes). Too-hard modern mortar can cause bricks to spall.
- Surface water ─ French drains, extensions, and clean perimeter swales can be more effective than expensive interior systems when surface water is the problem.
- Cracks ─ Hairline, static cracks can be monitored; widening, stepped, or displacement cracks warrant an engineer’s look.
If you see damp lines on interior foundation walls, go back outside: gutters, grading, and downspouts often solve what looks like a “foundation” issue.
Porches, steps, and railings ─ safety with charm intact
Older porches are where structure and aesthetics meet. Probe decking and stair treads with an awl; if it sinks easily, you likely have rot. Replace only the failed sections, matching species and profiles. Ensure proper flashing where porch roofs meet walls, add drip edges to shed water, and set rail post bases on metal standoffs to prevent wicking.
Small upgrades that matter:
- Secure loose handrails and ensure 90–100 cm height where required.
- Add anti-slip nosings to exterior treads.
- Vent enclosed porch skirting to reduce moisture buildup.

Paint as protection, not just a facelift
On an older home, paint is a weather-resistant system. Its job is to keep sun and rain off the wood. Prioritize prep: scrape to a sound edge, feather sand, spot-prime bare wood, and use high-quality topcoats. If your house predates 1978, assume lead-based paint and follow lead-safe practices (containment, HEPA vacuums, wet methods).
Good sequencing: address carpentry repairs first, then prime and paint. Painting over damp or decayed wood is a short-term mask for a long-term problem.
Smart efficiency upgrades that respect the house
Once leaks, rot, and structure are handled, improve comfort without fighting the building’s design.
- Storm windows (well-fitted) often outperform cheap replacements in historic casings and protect original sashes.
- Weatherstripping around doors and attic hatches cuts drafts immediately.
- Attic air sealing at penetrations (plumbing stacks, can lights) reduces heat loss and helps the whole envelope work better.
These upgrades are relatively low-cost and can be bundled with the window and trim work you’re already doing.
Budgeting, timing, and bundling to stretch each dollar
Exterior work is seasonal. Book roofing and major painting in dry, mild weather. Bundle tasks that require the same setup:
- If you’re erecting scaffolding for fascia repairs, schedule gutter replacement, trim painting, and any second-story window work at the same time.
- Group masonry repointing with foundation drainage improvements; crews can coordinate access and protection.
Aim for an 80/20 outcome: 20% of well-chosen work (stopping leaks, fixing drainage, stabilizing windows and trim) will solve 80% of the risk.

DIY or hire it out?
Homeowners can handle cleaning gutters, installing downspout extensions, basic caulking, and small paint prep. Hire professionals for work at height, structural carpentry, electrical at exterior fixtures, lead-safe paint removal, and specialized masonry. When permits are required (porch reconstruction, major structural repairs, or changes in openings), plan lead times with your local building department.
Wrapping up
Prioritization is about sequence and impact. Address water, structure, and safety first; then seal the envelope from the roof down; only then move to energy upgrades and finish with paint and curb appeal.
That simple order protects the home you love, keeps surprises in check, and lets you spread costs across seasons without losing ground to the weather.