Do you love to cook and prepare delicious meals for your family? And how big are you on home renovations and touching up your kitchen? For a lot of individuals, kitchen counters are more than just a practical necessity.
They are also a stylish counter when done in a shiny glass finish, which allows you to enjoy your cooking moments. If you’re seeking to infuse your kitchen with a dash of modernity and elegance, consider the transformative power of sleek glass splashbacks.
You will get a sophisticated vibe combined with practicality and durability! Here is how and why you’ll want sleek glass in your kitchen!
What Are Sleek Glass Splashbacks?
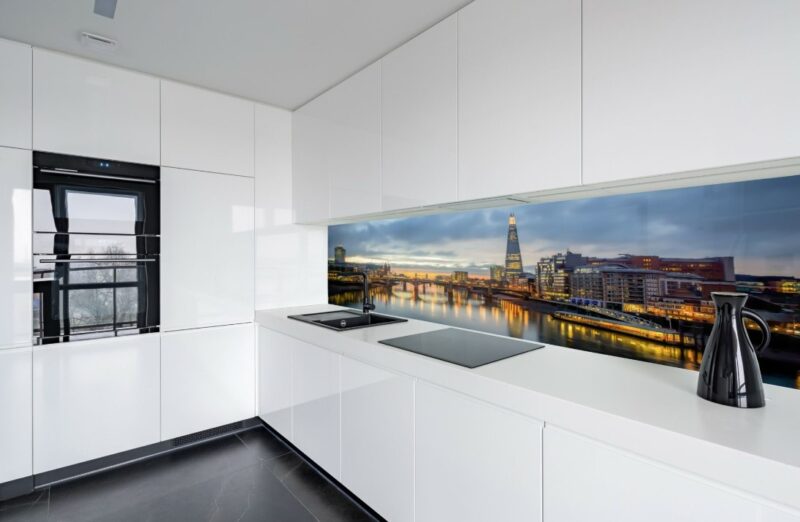
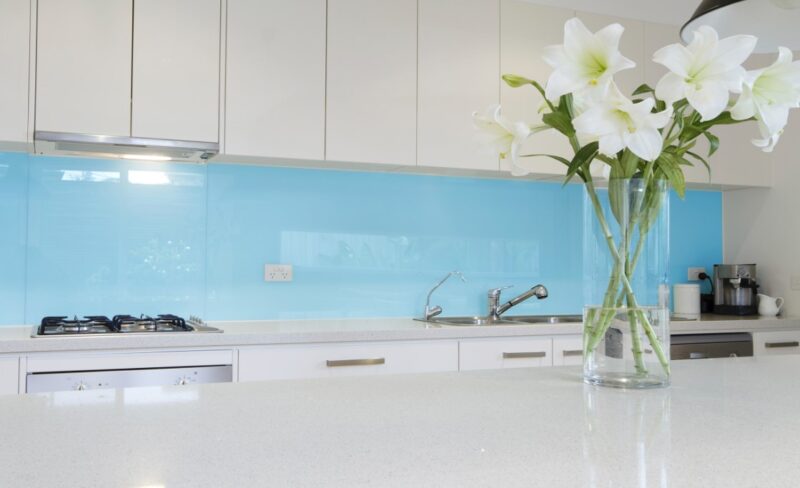
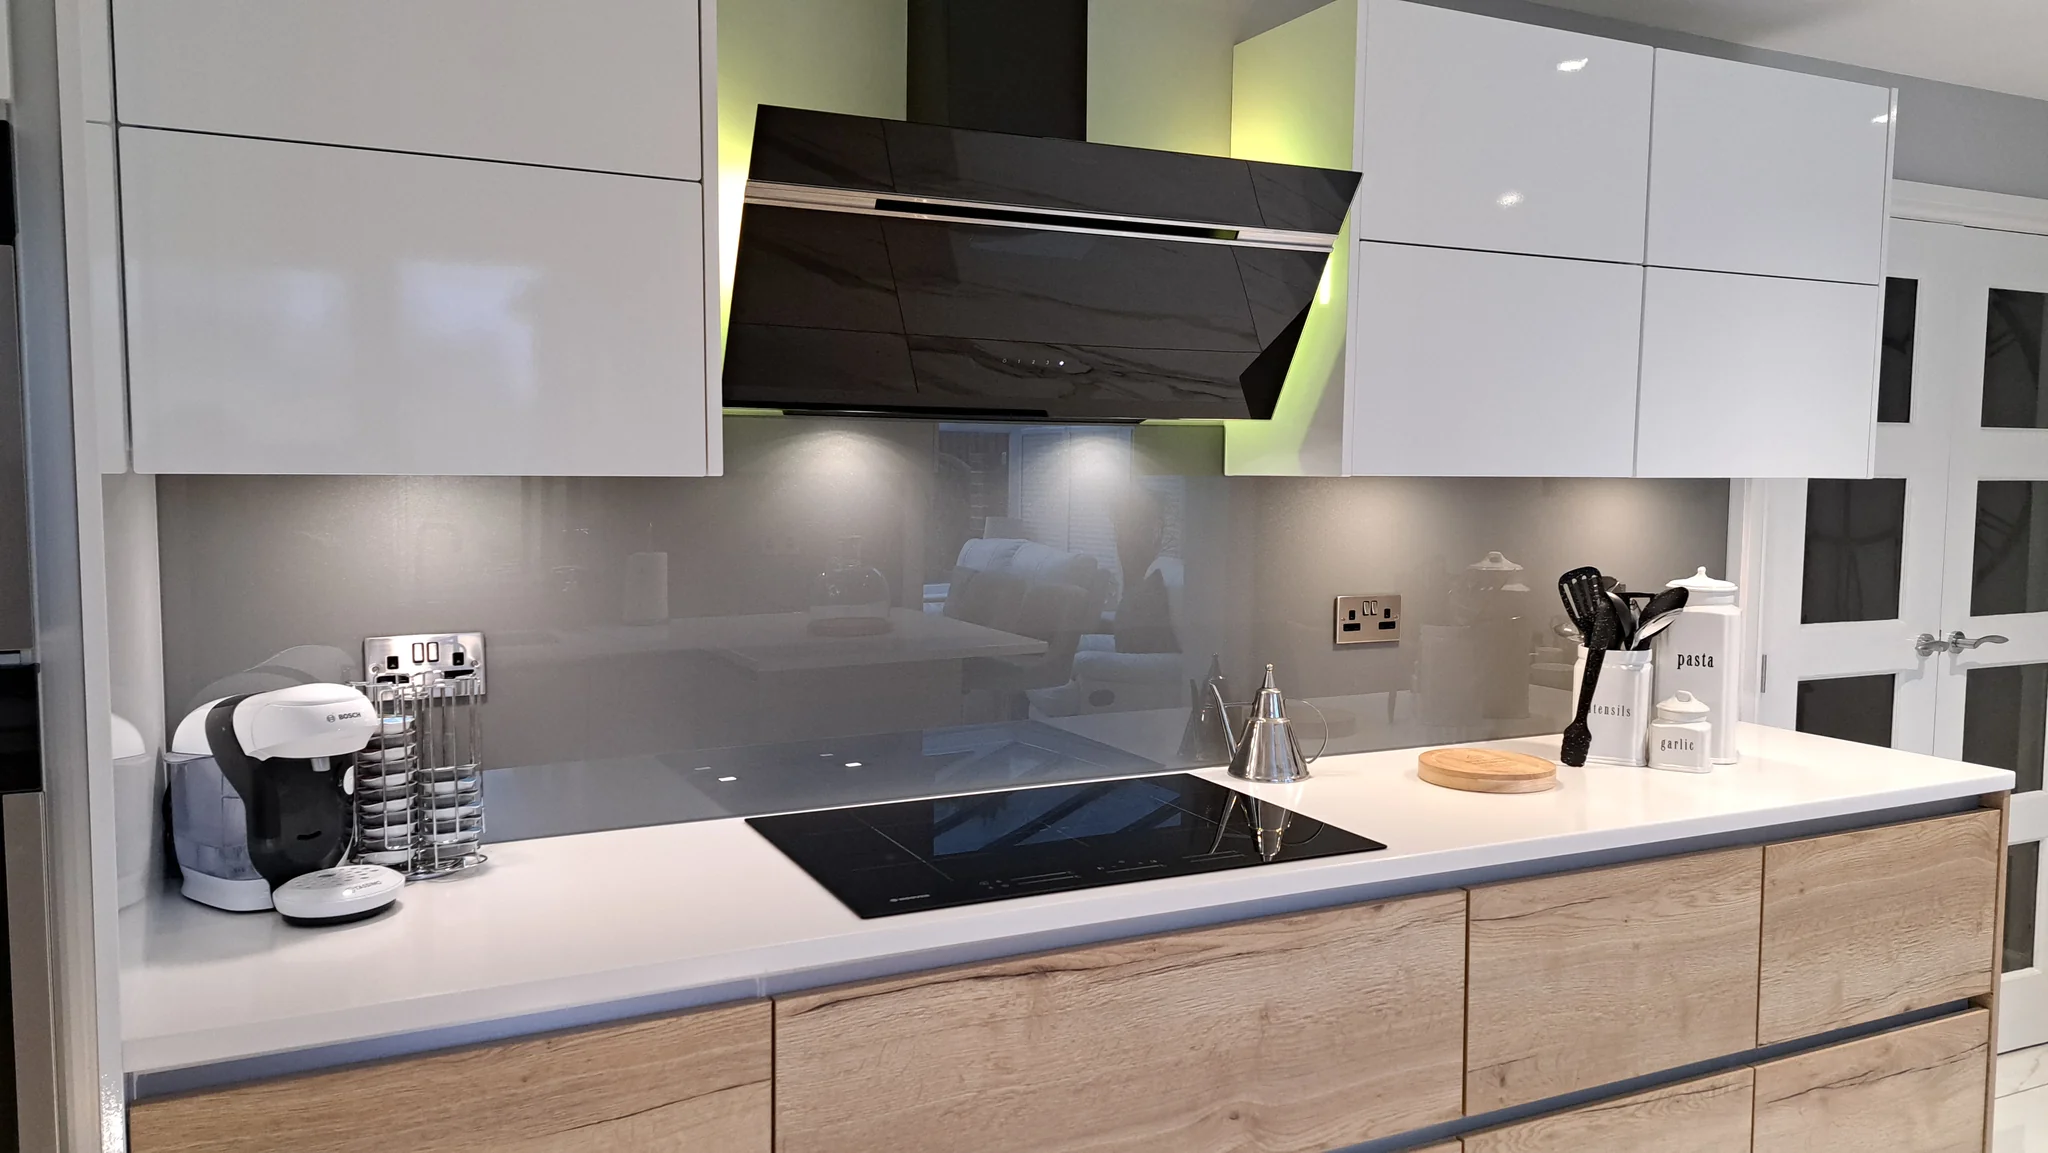
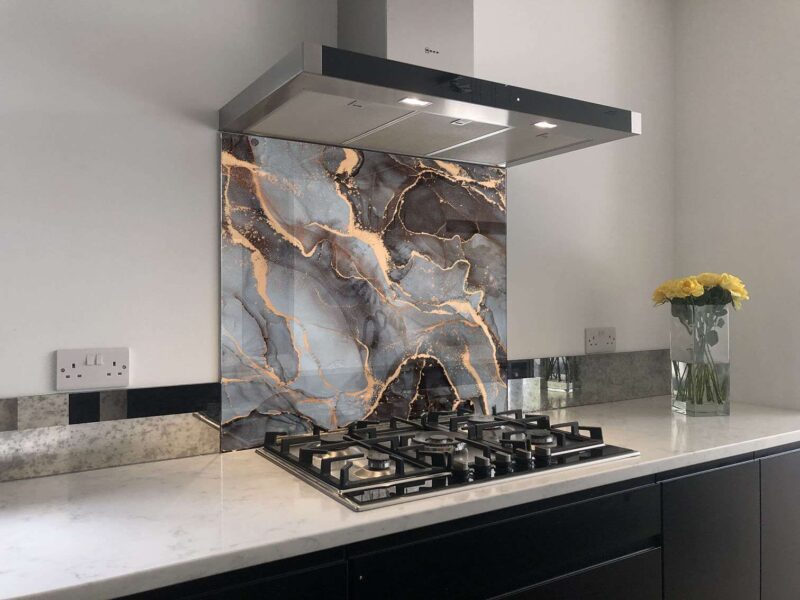
Sleek glass splashbacks are contemporary wall installations in kitchens that you can have at your home, no matter the size of your kitchen. They are often positioned behind stoves and countertops to shield against splashes and stains, as well as unwanted mess.
They are made with durable and toughened glass and can come in various colors, textures, and finishes to match any kitchen style.
This makes them a must-do for anyone who wants to brighten up their space, and add light, but also enjoy a pleasant atmosphere while cooking. Don’t forget they are easy to clean and resistant to heat and moisture. In the long run, glass splashbacks offer both aesthetic appeal and practical functionality, making them a popular choice for kitchen renovations.
How to Transform Your Cooking Space with Sleek Glass Splashbacks ─ Top 6 Things You Will Want To Know
1. Think About the Size of Your Kitchen
You should begin your transformation journey by envisioning the design narrative you wish to convey. What’s the size of your kitchen, and what’s the style you’re going for? Think the process through before you start with new renovations or touch-ups.
Glass splashbacks offer a kaleidoscope of options, ranging from vibrant hues to subtle textures, allowing you to tailor your design to your taste. Do you want to make a bold statement, or do you prefer something simple and low-key? Talk the options through with your family members as well before moving forward.
2. Be Precise and Measure Everything
Precision is paramount when embarking on the installation of glass splashbacks. It’s not a ”one size fits all” situation, where methodically measuring is paramount for making everything look good behind your stove and countertops.
Get yourself a measurer and do the math before you order your next batch, or before you call a company that’s gonna do the process for you.
PS ─ It’s also important to know where to shop and have the right team with you. We will talk more about this later down below.
3. How to Measure It?
When facing obstacles such as kitchen cupboards or extractor fans, it’s essential to take multiple measurements to account for potential irregularities. It’s best to prioritize the shortest measurements first.
To accommodate heat expansion, it’s advised to leave a 2mm gap at each edge where the splashback meets a surface. This precaution helps prevent cracking due to thermal expansion and allows for precise work.
Spacers are useful for ensuring proper positioning during installation and can be removed after sealing the gap with appropriate sealant. When planning socket cutouts, provide measurements from the base and side, accounting for the 2mm expansion gap.
4. Selecting the Perfect Glass
A proper selection of glass is pivotal in shaping the ambiance of your culinary space. For most home renovations, clear glass exudes contemporary elegance. On the other end, textured or tinted variants infuse character and depth into your space.
Which one is your preferred look? Most people will tell you to prioritize tempered glass for its resilience and safety attributes, safeguarding your kitchen against the rigors of daily use and obvious wear-time.
Don’t forget to prepare your backdrop as well with proper care. You need to cleanse the wall behind your stove and countertops, eliminating any traces of residue or imperfections. Remove any dirt, and smooth the surface to a pristine finish. You will love a properly layered base.
5. Installation + Finishing Touches
Are you a DIY enthusiast? Do you love to undertake installations on your own? Finding yourself a proficient glass artisan ensures a professional touch and a proper approach toward the project itself.
The installation process consists of affixing the glass splashbacks to the wall with precision, ensuring alignment and stability. The process itself is not too time-consuming, but it can be a bit ‘scary’ to do if this is your first time doing it.
While you’re at it, don’t forget to seal the seams with silicone caulking, fortifying the edges against intrusion by moisture and debris. Once properly done and placed, the sealing not only enhances the aesthetics of your installation but also fortifies its longevity, ensuring years of enduring beauty and functionality.
6. Knowing Where to Shop
Check out Premier Range if you want to enjoy a luxurious outcome at your home. Their products are made-to-measure and you can choose over 250 million images through Shutterstock when picking out your new kitchen details!
Everyone will find something for themselves. You can have a custom-printed design and a unique solution to your home. Go for a high-quality toughened glass for your kitchen, and enjoy the benefits of easy cleaning, anti-bacterial surface area, and a fade-free finish.
Get in touch with them if you’re not too sure what to go for, or if you have some questions that demand answers.
PS ─ It doesn’t matter the splashback you end up choosing, it’s vital to maintain their luster and allure by cleansing them regularly with a gentle glass cleaner and a soft cloth. Do this at least once a week to enjoy a shiny kitchen.
Having Said All of That
Are you ready to add something new to your home and into your kitchen? Through thoughtful design, precise execution, and diligent maintenance, you can infuse your kitchen with timeless elegance! You can DIY this little creation and enjoy a high-sheen glassy outcome, as well as your new culinary experience. What’s stopping you from trying it out?