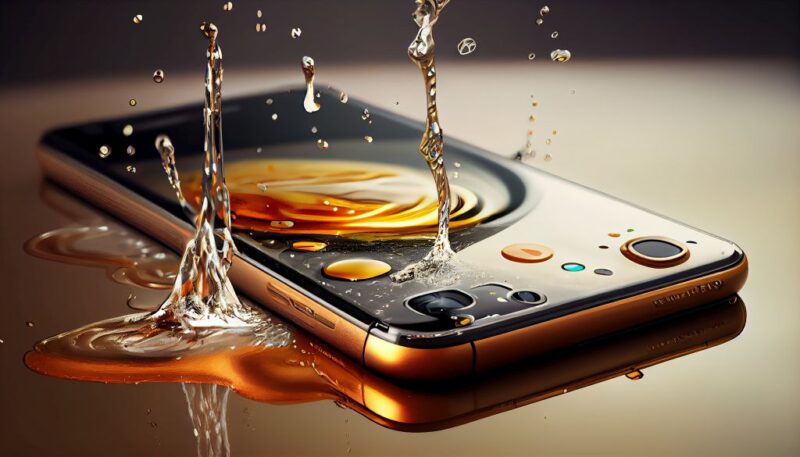
You’ve just noticed that the speaker on your Android phone is not functioning as it should. It’s highly likely you’re dealing with water damage, which is a common issue for smartphone users. Water damage can wreak havoc on your device, not just the speaker. Given that our phones are crucial for so many aspects of our lives—from communication to navigation—it’s critical to address any damage immediately. Don’t waste time: the faster you act, the higher the chances of minimizing the damage to your speaker and phone.
Identifying Water Damage
First things first, you need to confirm that water damage is the culprit. One of the most common signs is a significant change in the audio quality coming from your phone’s speaker. This could be a muffled sound, distorted audio, or, in worst-case scenarios, complete silence. Apart from audio issues, you might notice that your screen starts to flicker or that the touch sensitivity has diminished.
How does this happen? Well, you might have dropped your phone into a puddle, or maybe you were caught in a sudden downpour while you were using your phone. It’s also possible that you accidentally spilled a drink on it. Water and electronics are a bad mix, so even a minor incident can lead to significant damage.
Safety First
Before diving into any troubleshooting steps, you must prioritize your safety and the safety of the device. First, turn off your Android phone. Holding down the power button usually gives you the option to power off. Confirm and wait for the device to shut down. Next, if your phone is connected to a charger, a pair of headphones, or any other accessory, disconnect it immediately.
This step is crucial because electricity and water are a dangerous combination that can further damage your phone or even cause a short circuit. If you’re unsure how to proceed in this field contact professional service such as Arena Mobile to do your bidding.
Drying Your Phone
Your phone is off, and you’ve disconnected it from any accessories—now what? The next step is to remove as much moisture as possible from your device. Two household items that work well for this are uncooked rice and silica gel packets (those small packets you often find in new shoe boxes).
Here’s how to do it: Take a ziplock bag and fill it with uncooked rice or silica gel packets. Place your Android phone inside the bag and seal it. Leave your phone in the bag for at least 24 to 48 hours to allow the rice or silica gel to absorb the moisture. Why do rice and silica gel work?
Removing the SIM Card and SD Card
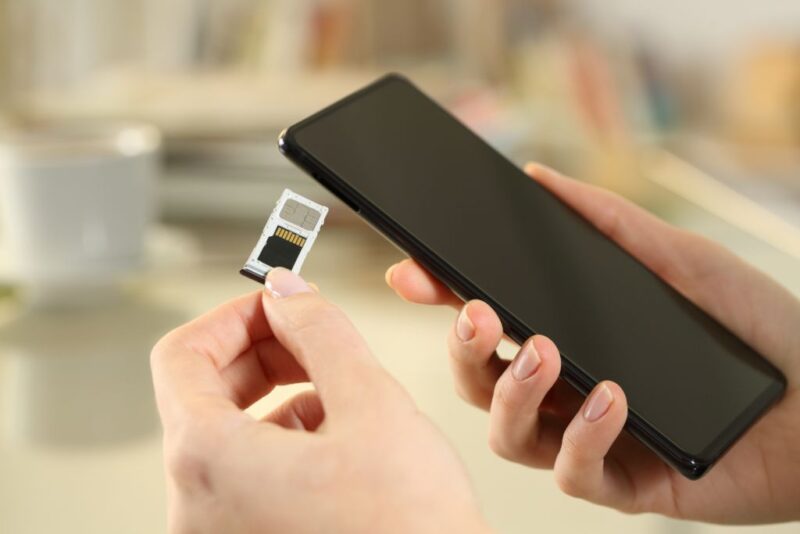
After ensuring your phone is powered off, the next action you should take is removing the SIM card and, if applicable, the SD card. Why is this necessary? These cards are sensitive to water and can get damaged. Also, having them inside the phone while it’s wet could cause them to short-circuit and damage the phone further.
On most Android phones, the SIM card and SD card slots are located on the side of the device. You might need a small pin or a SIM card ejector tool to open the tray holding these cards. Gently press the pin into the small hole next to the tray, and it should pop open, allowing you to remove the cards carefully.
Checking for Visible Damage
Once you’ve removed the SIM and SD cards and given your phone time to dry, the next logical step is a visual inspection. You’re looking for any signs of lingering water damage. This could manifest as discoloration, particularly around the speaker grille, charging port, or even the screen.
You may also notice corrosion—a chalky, green or white substance—around metal contacts like the charging port. It’s essential to check these areas because even a small amount of remaining moisture can lead to additional, potentially irreparable, damage over time. You should also look at the small water damage indicator found on most Android phones.
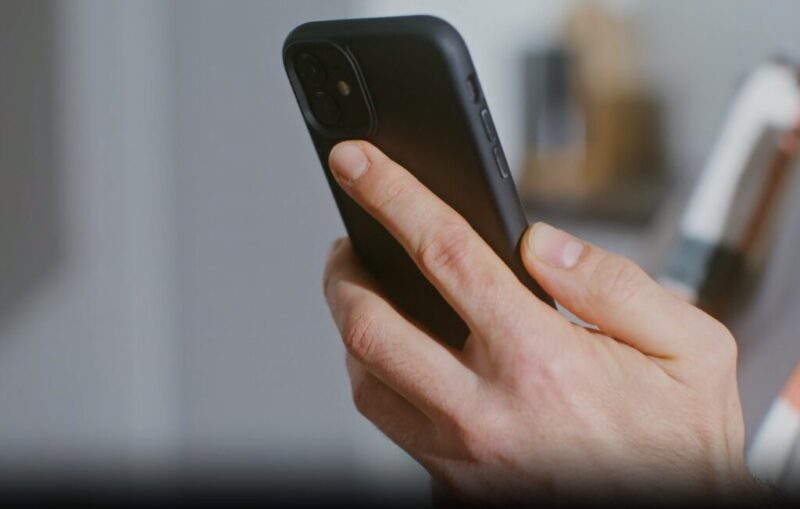
Testing the Speaker
After you’ve conducted a thorough visual inspection and are satisfied that your phone is dry, it’s time to turn it back on and test the speaker. Here’s how to do it: Power on your device and once it’s fully booted, go to the music app or YouTube and play a song. Listen carefully for any audio distortions, muffling, or if sound isn’t coming out at all. You can also make a test call to a friend or family member. Place the call on speaker mode and listen to the quality of the sound. This test will confirm whether the drying and initial cleaning stages were effective or if you need to proceed with further measures.
Cleaning the Speaker
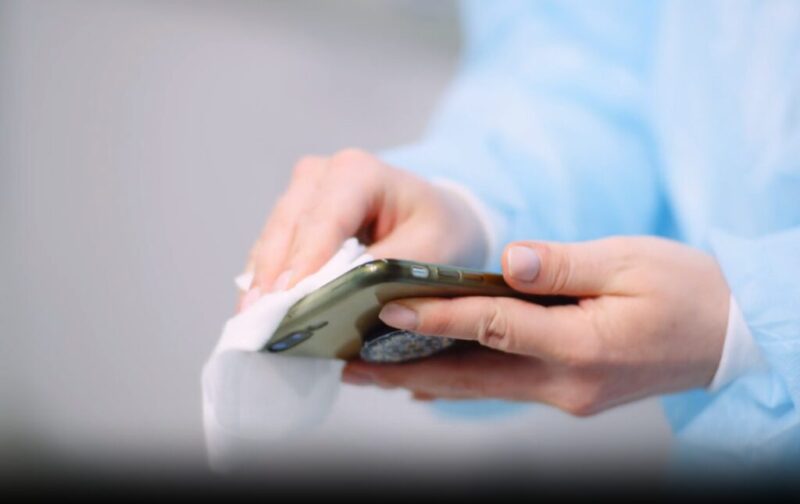
Assuming your speaker is still not performing at its best after drying and testing, you might consider cleaning it. A small, soft brush can work wonders in removing debris or residue from the speaker grille. If you don’t have a suitable brush, compressed air is another option. Hold the compressed air can about 10-12 inches away from the speaker and use short bursts to dislodge any particles. Why is being gentle so important here? You don’t want to risk pushing the debris further into the speaker or damaging the delicate components inside.
Using Isopropyl Alcohol
If after cleaning, the speaker still isn’t performing as it should, you can use isopropyl alcohol to help remove water residue and possible corrosion. Choose an isopropyl alcohol with a concentration of at least 90% for effective cleaning. Here’s the process: dampen a cotton swab with isopropyl alcohol and gently wipe the areas around the speaker grille, avoiding hard scrubbing. Why use isopropyl alcohol? It’s effective at dissolving residues and evaporates quickly, minimizing the risk of additional water damage.
Reassembling the Phone
Now that you’ve gone through the cleaning steps, it’s time to put your phone back together. Start by reinserting the SIM card and the SD card into their respective slots. Use the same pin or ejector tool you used earlier to open the trays. Carefully place the cards back in their slots and close the trays. Once everything is in place, power your phone back on.
Testing Again

The final step is to retest your speaker. Just like you did before, play some audio or make a test call to evaluate the sound quality. This will help you determine if the cleaning and drying process worked. If your speaker is back to its normal state, great job! If not, you may need to take further steps.
When to Seek Professional Help
Despite your best efforts, there may be cases where the issue with the speaker persists. When you’ve tried everything and still can’t resolve the problem, it’s advisable to consult professionals for repair or replacement options. Many Android manufacturers offer repair services, or you can visit a trusted local technician. Keep your warranty status in mind, as some actions like opening your phone could void it. When professional help is needed, it’s always better to be safe than sorry.