The BBC micro:bit is a compact, powerful microcontroller designed to make learning and teaching digital skills, coding, and electronics both engaging and straightforward. Aimed at beginners of all ages, this tutorial will guide you through the fundamental steps of getting started with your BBC micro:bit.
From unpacking the device to programming your first piece of code, you will discover the ease with which you can bring your digital ideas to life.
This guide is meticulously crafted to ensure that readers grasp the basics of working with the device, laying a solid foundation for future projects. Whether for educational purposes, hobbyist projects, or introductory programming, this tutorial serves as your gateway to the exciting possibilities offered by the micro:bit. Embrace this journey to unlock your potential in the realms of technology and innovation.
What are the first steps you need to take?
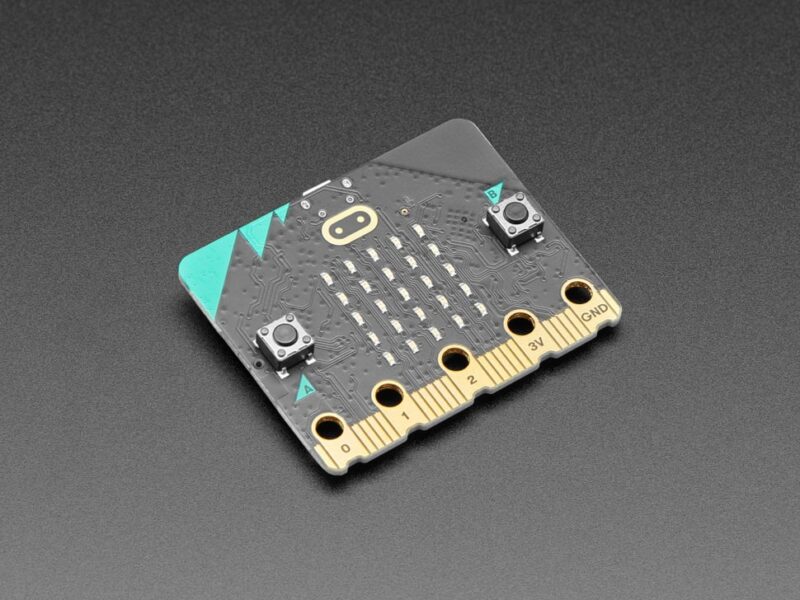
Embarking on your journey with the BBC unit begins with unboxing your new device. Inside, you’ll discover the unit itself, a small yet powerful tool packed with a variety of features such as an LED display, input buttons, motion detection, and more. To initiate your exploration, connect the micro:bit to a computer using a micro USB cable, which will power the board and facilitate the transfer of programs you’ll create.
Your computer will recognize the tool as an external drive, streamlining the process for uploading your projects. This simplicity is part of what makes the micro:bit an excellent educational tool. Before jumping into coding, it’s beneficial to acquaint yourself with the device. Examine its components: the LED matrix used for display, the buttons for input, and the pins for connecting external sensors and actuators.
Setting up the programming environment is your next step. The official website provides a selection of user-friendly platforms, from block-based editors suitable for beginners to more advanced options like Python. Selecting an environment that matches your level of expertise is crucial for a smooth learning curve.
With your environment configured, you are now ready to start bringing your ideas to life with the device. This initial setup is a simple yet exciting phase, opening the door to countless possibilities for invention and discovery with this versatile microcontroller. If you want to know more about this device, what other options you have and how they can help you or your child, you should check out shop.elecfreaks.com.
How to create your first program?
With your BBC tool set up and ready, the next thrilling step is to create your very first program. This foundational experience will introduce you to the basics of coding and how it interacts with the hardware. Begin by navigating to one of the recommended programming environments on the micro:bit website. For beginners, the block-based editor is an ideal starting point, offering a drag-and-drop interface that translates complex coding concepts into visually understandable blocks.
Start your programming adventure by creating a simple project, such as making the LED matrix display a smiley face or a custom message. This task involves selecting the appropriate blocks that represent commands for the device and arranging them to form a sequence of actions. Through this process, you’ll learn the importance of logical sequencing and command execution in programming.
Once your code is assembled, the next step is to transfer it to the micro:bit. This is done by compiling your program into a downloadable file and then dragging and dropping this file onto the drive on your computer. Upon successful transfer, the unit will automatically restart and execute your program, bringing your code to life on the LED display.
Creating and executing your first program is a monumental step in your micro:bit journey. It not only demonstrates the power of coding in transforming ideas into tangible outcomes but also sets the stage for more complex projects. As you become more comfortable with the basics, you can gradually explore more advanced features of the platform, unlocking new possibilities for creativity and innovation.
What are some advanced concepts you can explore?
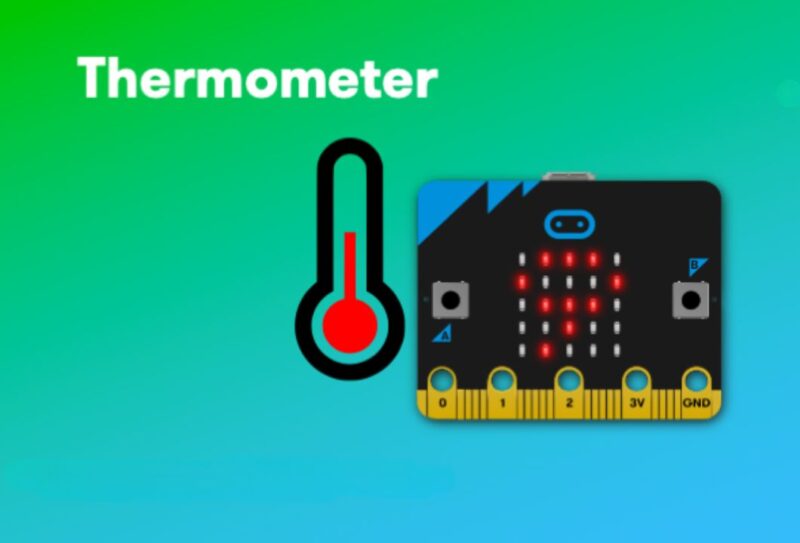
After mastering the basics of programming your BBC unit, you’re now poised to delve into more sophisticated projects that stretch your skills and creativity. This stage of your journey with the micro:bit is about experimenting with its sensors and connectivity features to build interactive gadgets and games. A project to consider is creating a digital compass or a temperature gauge, which introduces you to working with the micro:bit’s built-in magnetometer and temperature sensor.
As you progress, leveraging the micro:bit’s Bluetooth capability opens up a realm of possibilities for wireless communication and control. Imagine designing a project where your device’s controls a smartphone app or communicates with other micro:bits to create a networked system. These advanced projects not only refine your coding skills but also provide a deeper understanding of how software and hardware can interact in complex ways.
Engaging with the community is another vital step in your development journey. The unit community is a rich resource for inspiration, support, and collaboration. Participating in forums, sharing your projects, and exploring others’ creations can spark new ideas and offer insights into diverse applications of the micro:bit.
How to figure out complex tasks and challenges?
As you progress deeper into your BBC micro:bit explorations, encountering challenges and hurdles is inevitable. This part of the journey is as crucial as any other, teaching resilience, problem-solving, and the intricacies of debugging. Whether it’s a piece of code that doesn’t behave as expected or hardware that seems unresponsive, each obstacle offers a valuable learning opportunity. Troubleshooting is a skill as important as programming itself, requiring patience, analytical thinking, and a methodical approach.
Begin by isolating the issue: is it related to the code, the device, or an external component? Review your code for syntax errors or logical missteps, and ensure your micro:bit is properly powered and connected. Sometimes, the solution is as simple as correcting a typo or reconnecting a wire. For more complex issues, leveraging the community can be immensely helpful. Online forums and user groups are great places to seek advice, share your experiences, and learn from the challenges others have faced.
Remember that learning is a continuous process, and each challenge you encounter serves as an opportunity for growth and refinement of your skills. As you continue to explore the vast possibilities offered by the device, embrace the journey with curiosity and perseverance. With the knowledge and confidence gained from this tutorial, you’re well-equipped to embark on your own innovative projects and contribute to the exciting world of technology and invention.