


From across the room, a hairline crack and a structural one look almost identical. What separates them has very little to do with how the wall looks, and that is the part most “patch it yourself” advice quietly skips.
Size tells you how much plaster is missing. It tells you nothing about whether the wall behind it is wet, whether the plaster has come away from its backing, or whether the patch you are about to trowel on will have anything solid left to grip. That is why a small soft spot is often a bigger problem than a large dry hole.

Run this 90-second check before you read the signs
The five signs below make more sense once you have felt your own wall, so do this first. It needs no tools.
- Tap it. Run your knuckles, or the handle of a screwdriver, lightly across the surface. A dull thud means the plaster is still gripping its backing. A hollow ring means it has come away from the lath or board behind it and is being held in place by paint and habit.
- Press it. Use your thumb, not a knuckle. Sound plaster does not give. If the surface dips, or crumbs slightly under the pad of your thumb, moisture has been sitting in there long enough to soften the material.
- Sight along it. Hold a straightedge, a spirit level, or even the edge of a hardback book against the wall and look down the line. A crack sitting flush within the plane is usually movement. A wall that has drifted out of plane – so the straightedge rocks – is a different problem entirely.
If all three pass, the damage is probably local, dry and cosmetic. If any one fails, the size of the visible crack is the least useful thing you can measure.
Sign 1: Cracks that keep coming back
Most cracks in plaster are not defects. They are shrinkage. Plaster is mixed with a lot of water – a typical gypsum mix runs around 50% water by weight – and as that water leaves over the first few weeks, the material contracts. Fine, random web-like cracking under a millimetre wide is the normal result, and it has usually finished moving by the time you notice it.
The crack worth worrying about is the one that returns after you fill it, or the one that follows a line: diagonally out from the corner of a door or window, or in a stair-step pattern through brickwork. Those are not the plaster failing. They are the wall moving, and the plaster is simply the most brittle thing on the surface available to show it.
The Victorian Building Authority’s guidance on foundation movement gives a plain rule. Cracks under 1 mm are generally within the normal movement a house experiences. Cracks between 1 mm and 5 mm should be monitored across all weather over a full year, because if they are tied to soil moisture they will widen and narrow with the seasons. Cracks wider than 5 mm sit outside the tolerances footings are designed for – as does a wall that bulges, or doors and windows that start sticking.
That threshold matters for a reason you might not expect. Melbourne sits heavily on reactive clay soils, and a Swinburne University investigation into expansive soils across the city found these clays heave and settle as their moisture changes; the same body of work reported more than 5,000 Victorian houses damaged by soil-moisture shifts after extreme weather. Filling a seasonal crack on a reactive-clay block is a genuinely futile act. You are patching a symptom that reopens with the next wet winter.
A big crack, though, is not automatically an emergency. Australian Standard AS 2870 takes a surprisingly relaxed line: it describes cracking wider than 5 mm as having “no influence on the function of the wall” and treats it mainly as an aesthetic problem. What the standard actually cares about is whether the movement has stopped. A stable 6 mm crack that has not budged in a year is a plastering job. A 3 mm crack that is still widening is not.
Which is where I part ways with the common advice to “just monitor it.” Monitoring tells you nothing if you never write the measurement down. Mark the ends of the crack with a pencil and date them, or bridge it with a small tell-tale gauge, and check it in three months. A crack that has not moved in twelve months is a different animal from one you have simply stopped looking at.
Sign 2: The wall that gives when you press it
Healthy plaster feels like a cold, solid surface. If an area dips under your thumb, sags, or bulges outward, the plaster has separated from its backing – a failure the trade calls delamination.
Moisture is behind most of it. Water that enters a wall can rot wood lath, rust metal lath and nails, and break the bond between the plaster and whatever it was clinging to. A bulge is the plaster still holding on at the edges while the middle has let go. That is not a cosmetic defect; it is a section of wall losing its support, and it can drop without warning, which is why ceilings and bathroom walls deserve particular caution.
A small bulge can sometimes be flattened and re-keyed. But if the lath behind it is soft, crumbly or rotten, the honest fix is removal and rebuild, not a skim over the top. Skimming a bulge is like painting over a broken bone. It looks fine for a while, then fails worse.
Sign 3: Stains, bubbling paint, and the smell you stopped noticing
Plaster is porous, and it absorbs water slowly and releases it just as slowly. That lag matters. The brown ring you notice today may come from a leak that happened weeks ago, by which point the moisture has already travelled along the cavity.
Look for four things together: yellow or brown staining, often near a ceiling line, window or exterior wall; paint that bubbles or peels in patches rather than wearing evenly; a musty smell that does not clear when you open the windows; and white, chalky deposits where water has carried minerals through the plaster and evaporated at the surface.
All four point to the same conclusion, and it is not the plaster. The US EPA’s guide to mold, moisture and your home is blunt: the key to mold control is moisture control, wet materials should be dried within 24 to 48 hours, and if you clean up mold without fixing the water problem, it comes back. In a wall, that means finding and stopping the leak before anyone picks up a trowel. Painting over a damp patch, or patching it, seals the moisture in and makes the eventual repair harder.
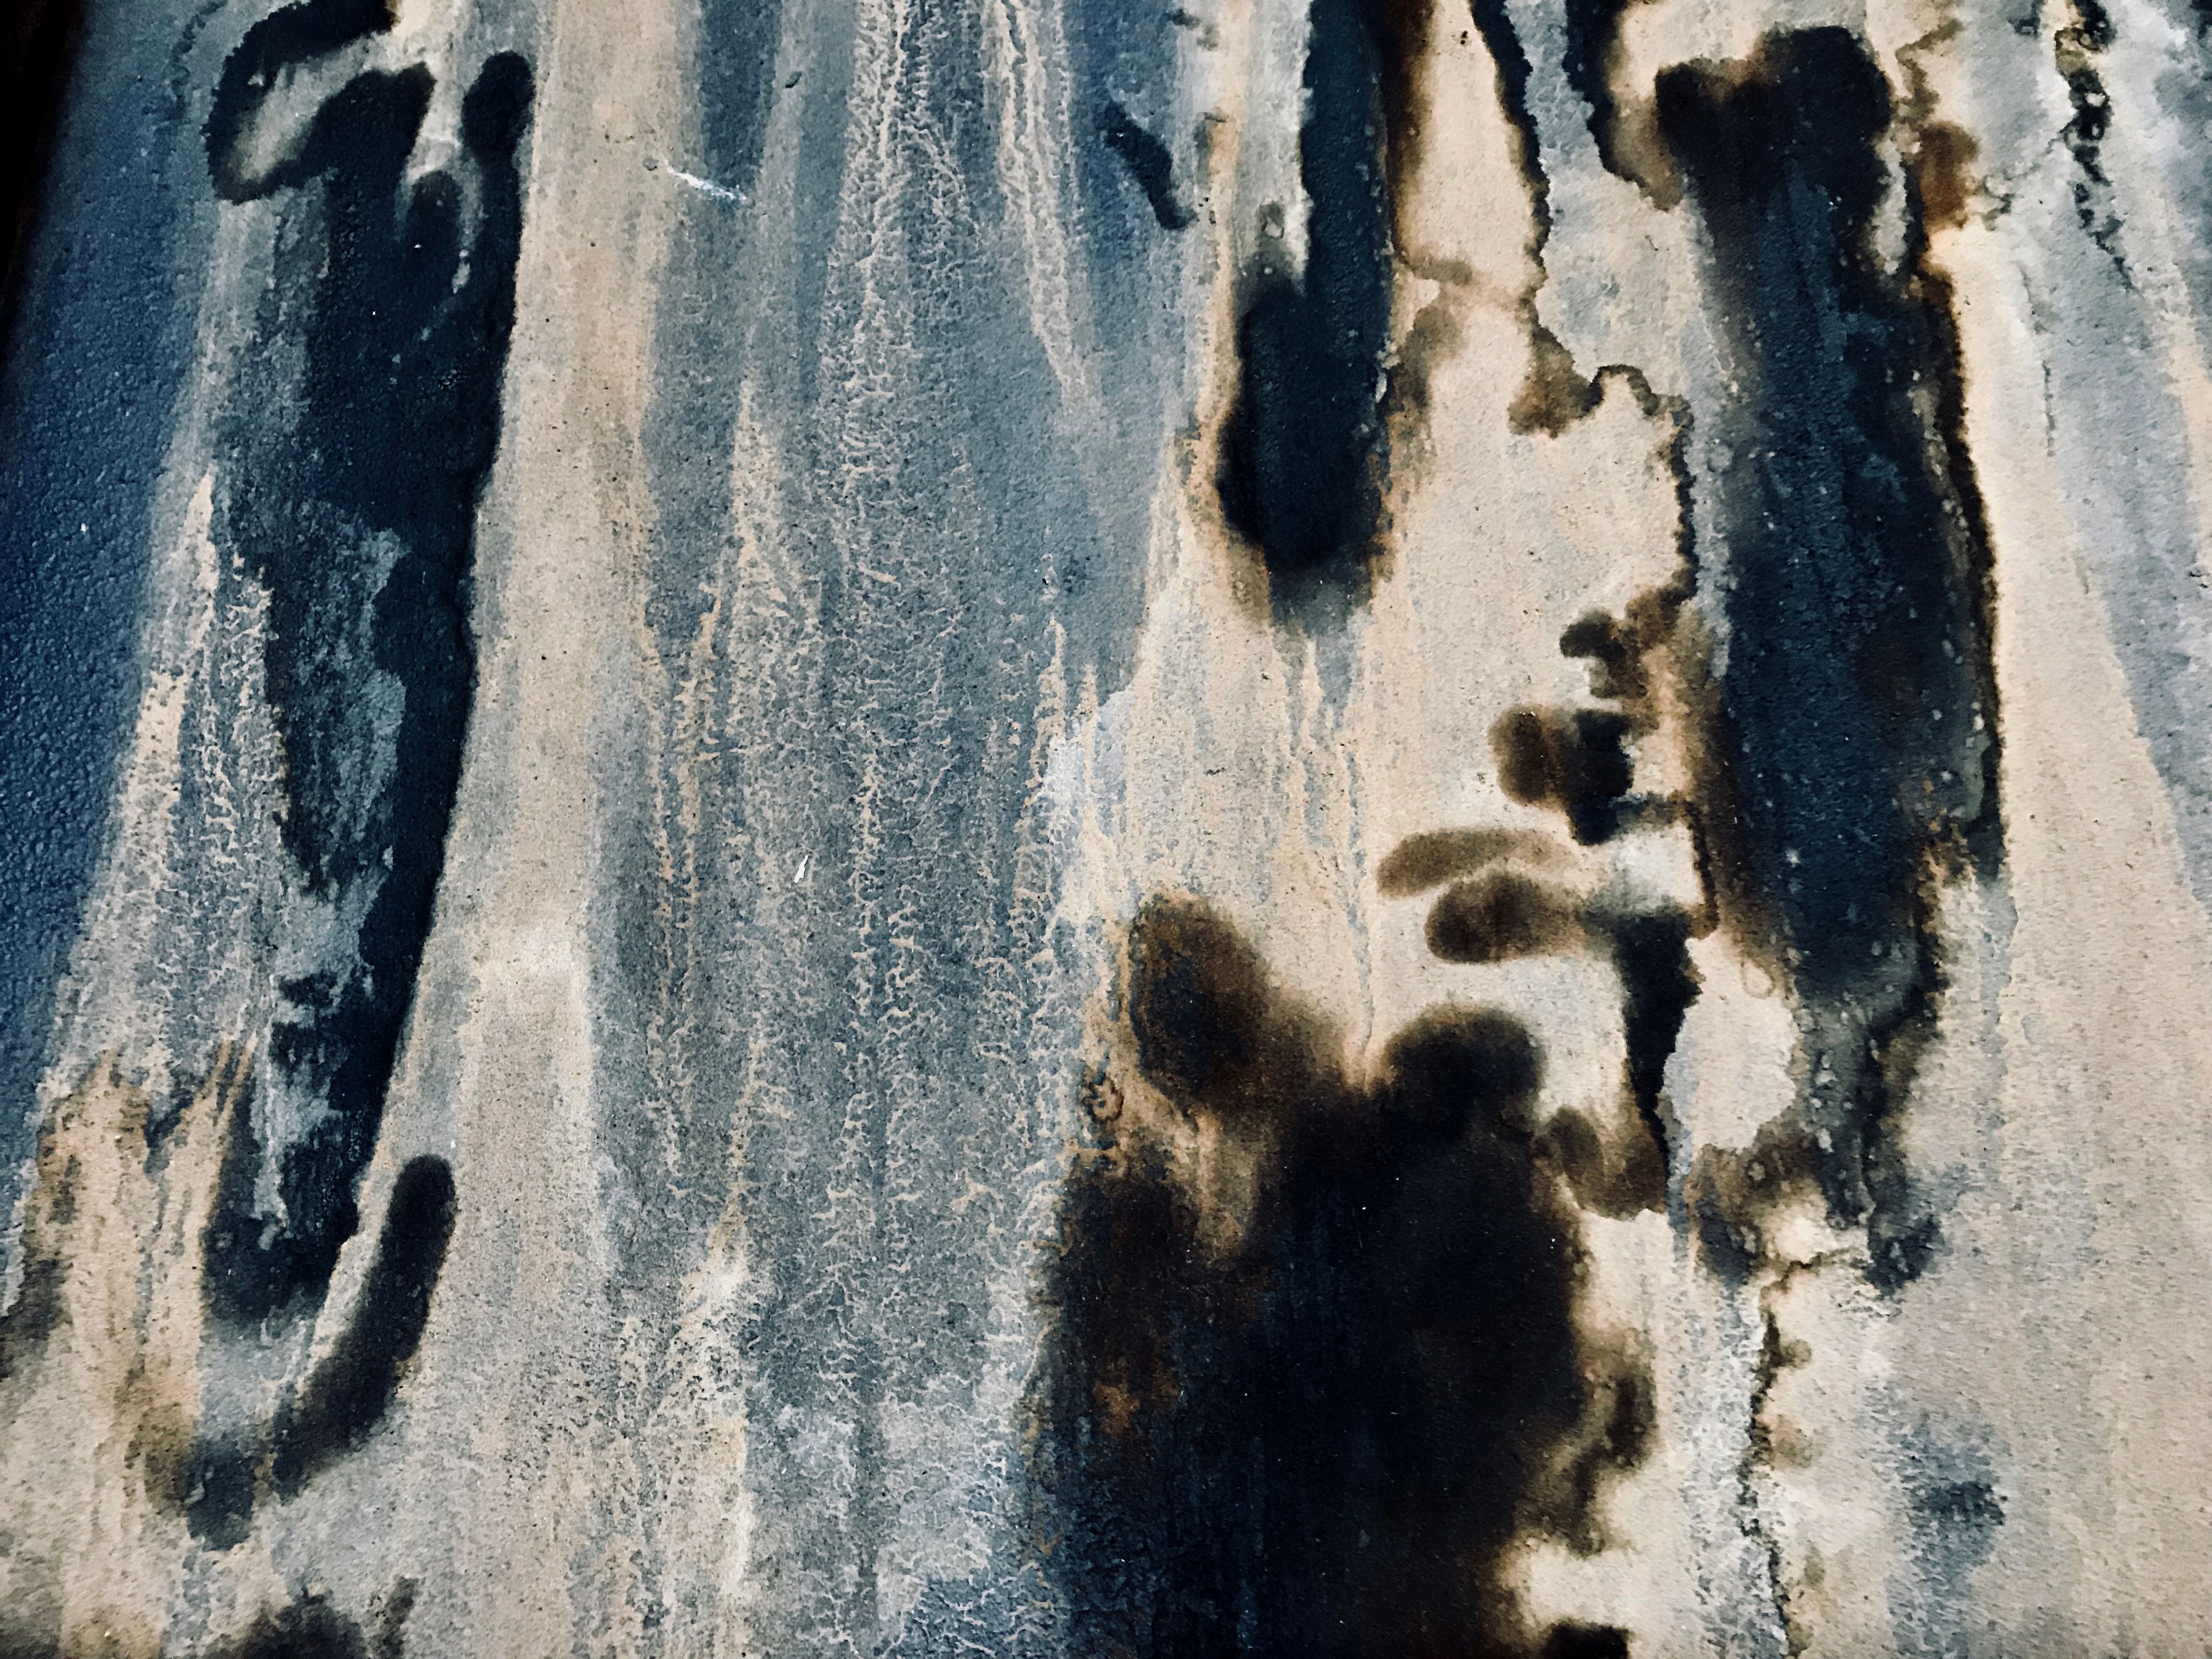
A moisture meter takes the guesswork out of this, and they are cheap enough to borrow or buy. Restoration crews generally treat readings above about 15% as a wall that is holding water and needs drying before it needs plastering. Your hand cannot reliably tell a dry surface from a dry wall.
Sign 4: Tap the wall. Does it sound hollow?
This is the single most useful test, and it takes a second. A hollow, drum-like ring when you tap means the plaster has lost its “keys” – the portions that squeeze through the gaps in the lath and hook onto the back, holding the whole coat in place.
Hollow plaster is not fixed by filler. Filler sits on the loose layer, and the loose layer is the problem. Once the keys are gone, the only durable fix is to remove the plaster back to sound material, re-establish a surface the new coat can grip, and rebuild from there.
Sign 5: Dust on the floorboards and nail heads pushing through
Where signs 1 to 4 are warnings, this one is the wall already failing. Fine plaster dust on the skirting, chips appearing on the floor beneath a wall or ceiling, and round nail or screw heads pushing through the surface all mean the material is no longer stable.
When fasteners become visible, something has moved: the plaster has shrunk, the timber has settled, or moisture has shifted the framing. Rust stains around a nail head are a particularly clear signal that water is involved. At this point a patch treats the symptom. The fasteners and the substrate behind them need attention first.
The same sign, three different answers
The table below is the version I wish more homeowners saw before a trip to the hardware store. Notice how little of it depends on how big the damage is.
| What you’re seeing | What it usually means | Patch it, or call a pro? |
|---|---|---|
| Hairline cracks under 1 mm, unchanged for years | Normal drying shrinkage or minor settlement | DIY |
| Crack 1–5 mm, widening over months | Ongoing movement, often reactive clay or moisture | Monitor, then professional assessment |
| Crack over 5 mm, or diagonal / stair-step | Footing movement beyond design tolerance | Professional; engineer if it keeps moving |
| Plaster soft or bulging when pressed | Moisture plus a failed bond between plaster and lath | Professional |
| Brown stain, bubbling paint, musty smell | Active leak behind the plaster | Professional; fix the water source first |
| Hollow sound when tapped, dust or falling chips | Plaster has lost its keys; active failure | Professional |
Severity thresholds are from the Victorian Building Authority’s foundation movement guidance (issued 2021, checked September 2026); moisture and mold guidance is from the US EPA (guide updated February 2026). The middle column describes what is usually happening; the right column is my own judgment based on those sources, not a sourced fact.
Why most DIY patches fail within a year
It is rarely the spreading technique. It is usually the material and the substrate.
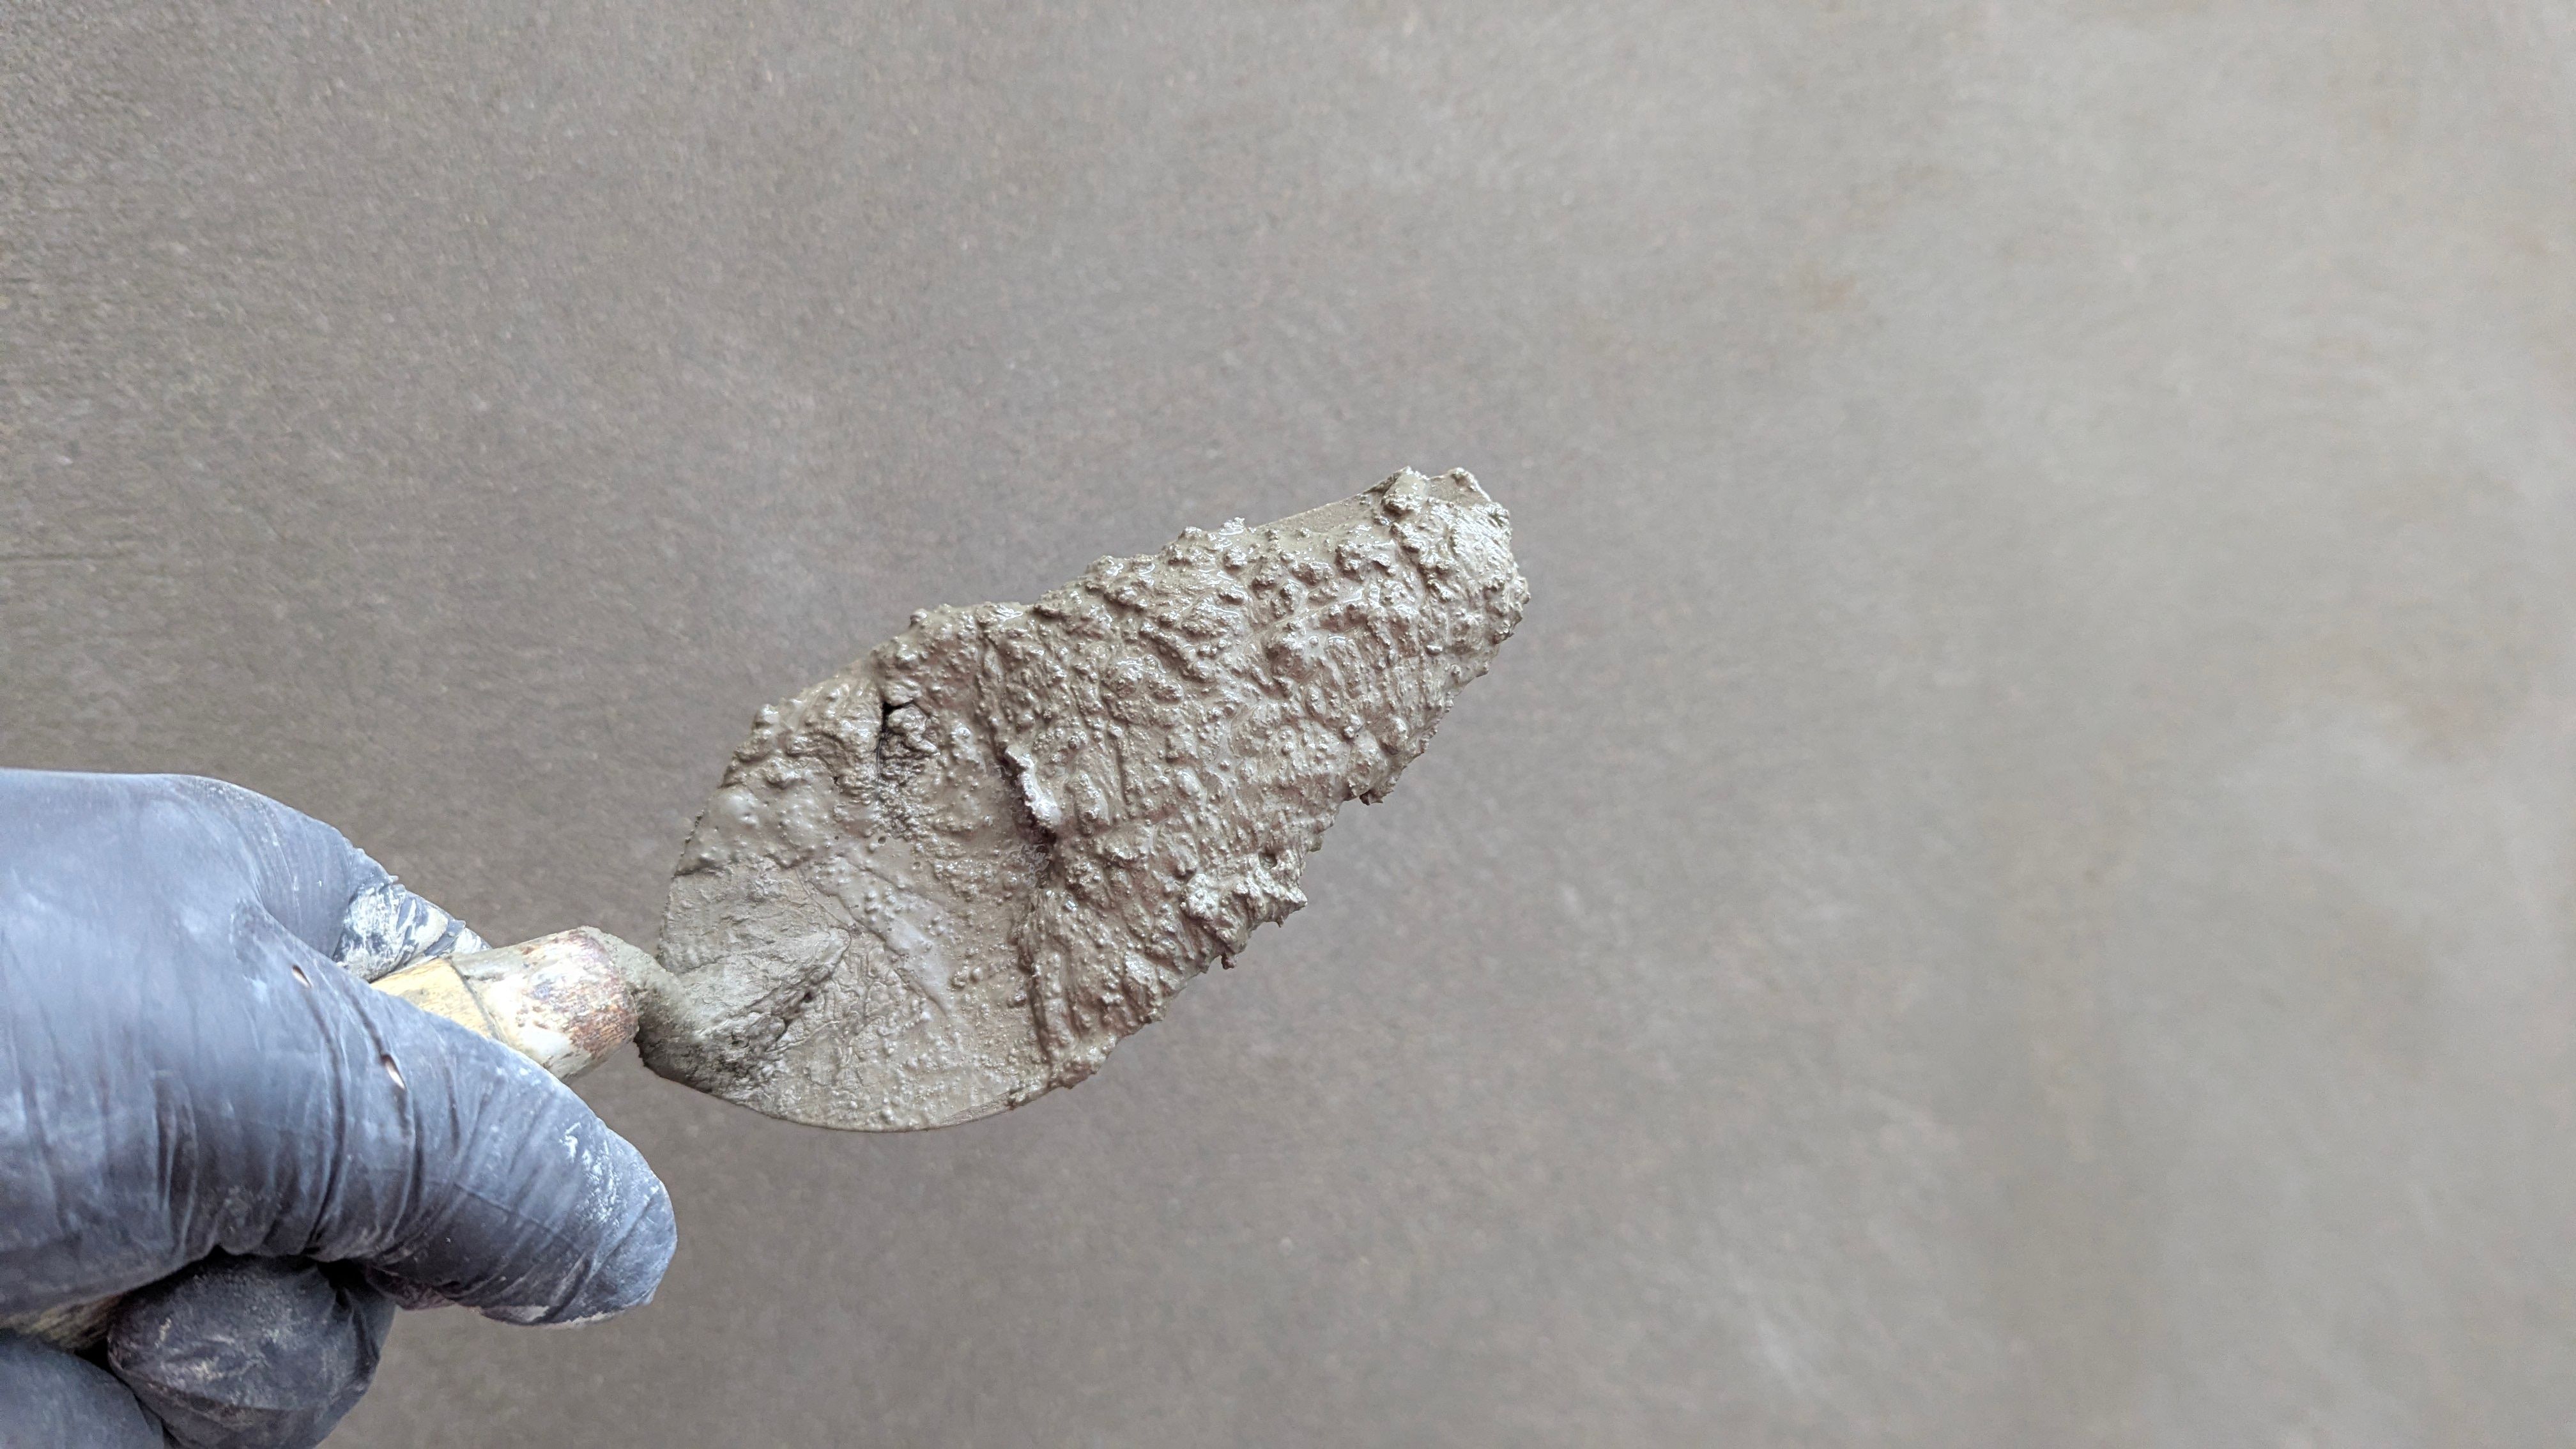
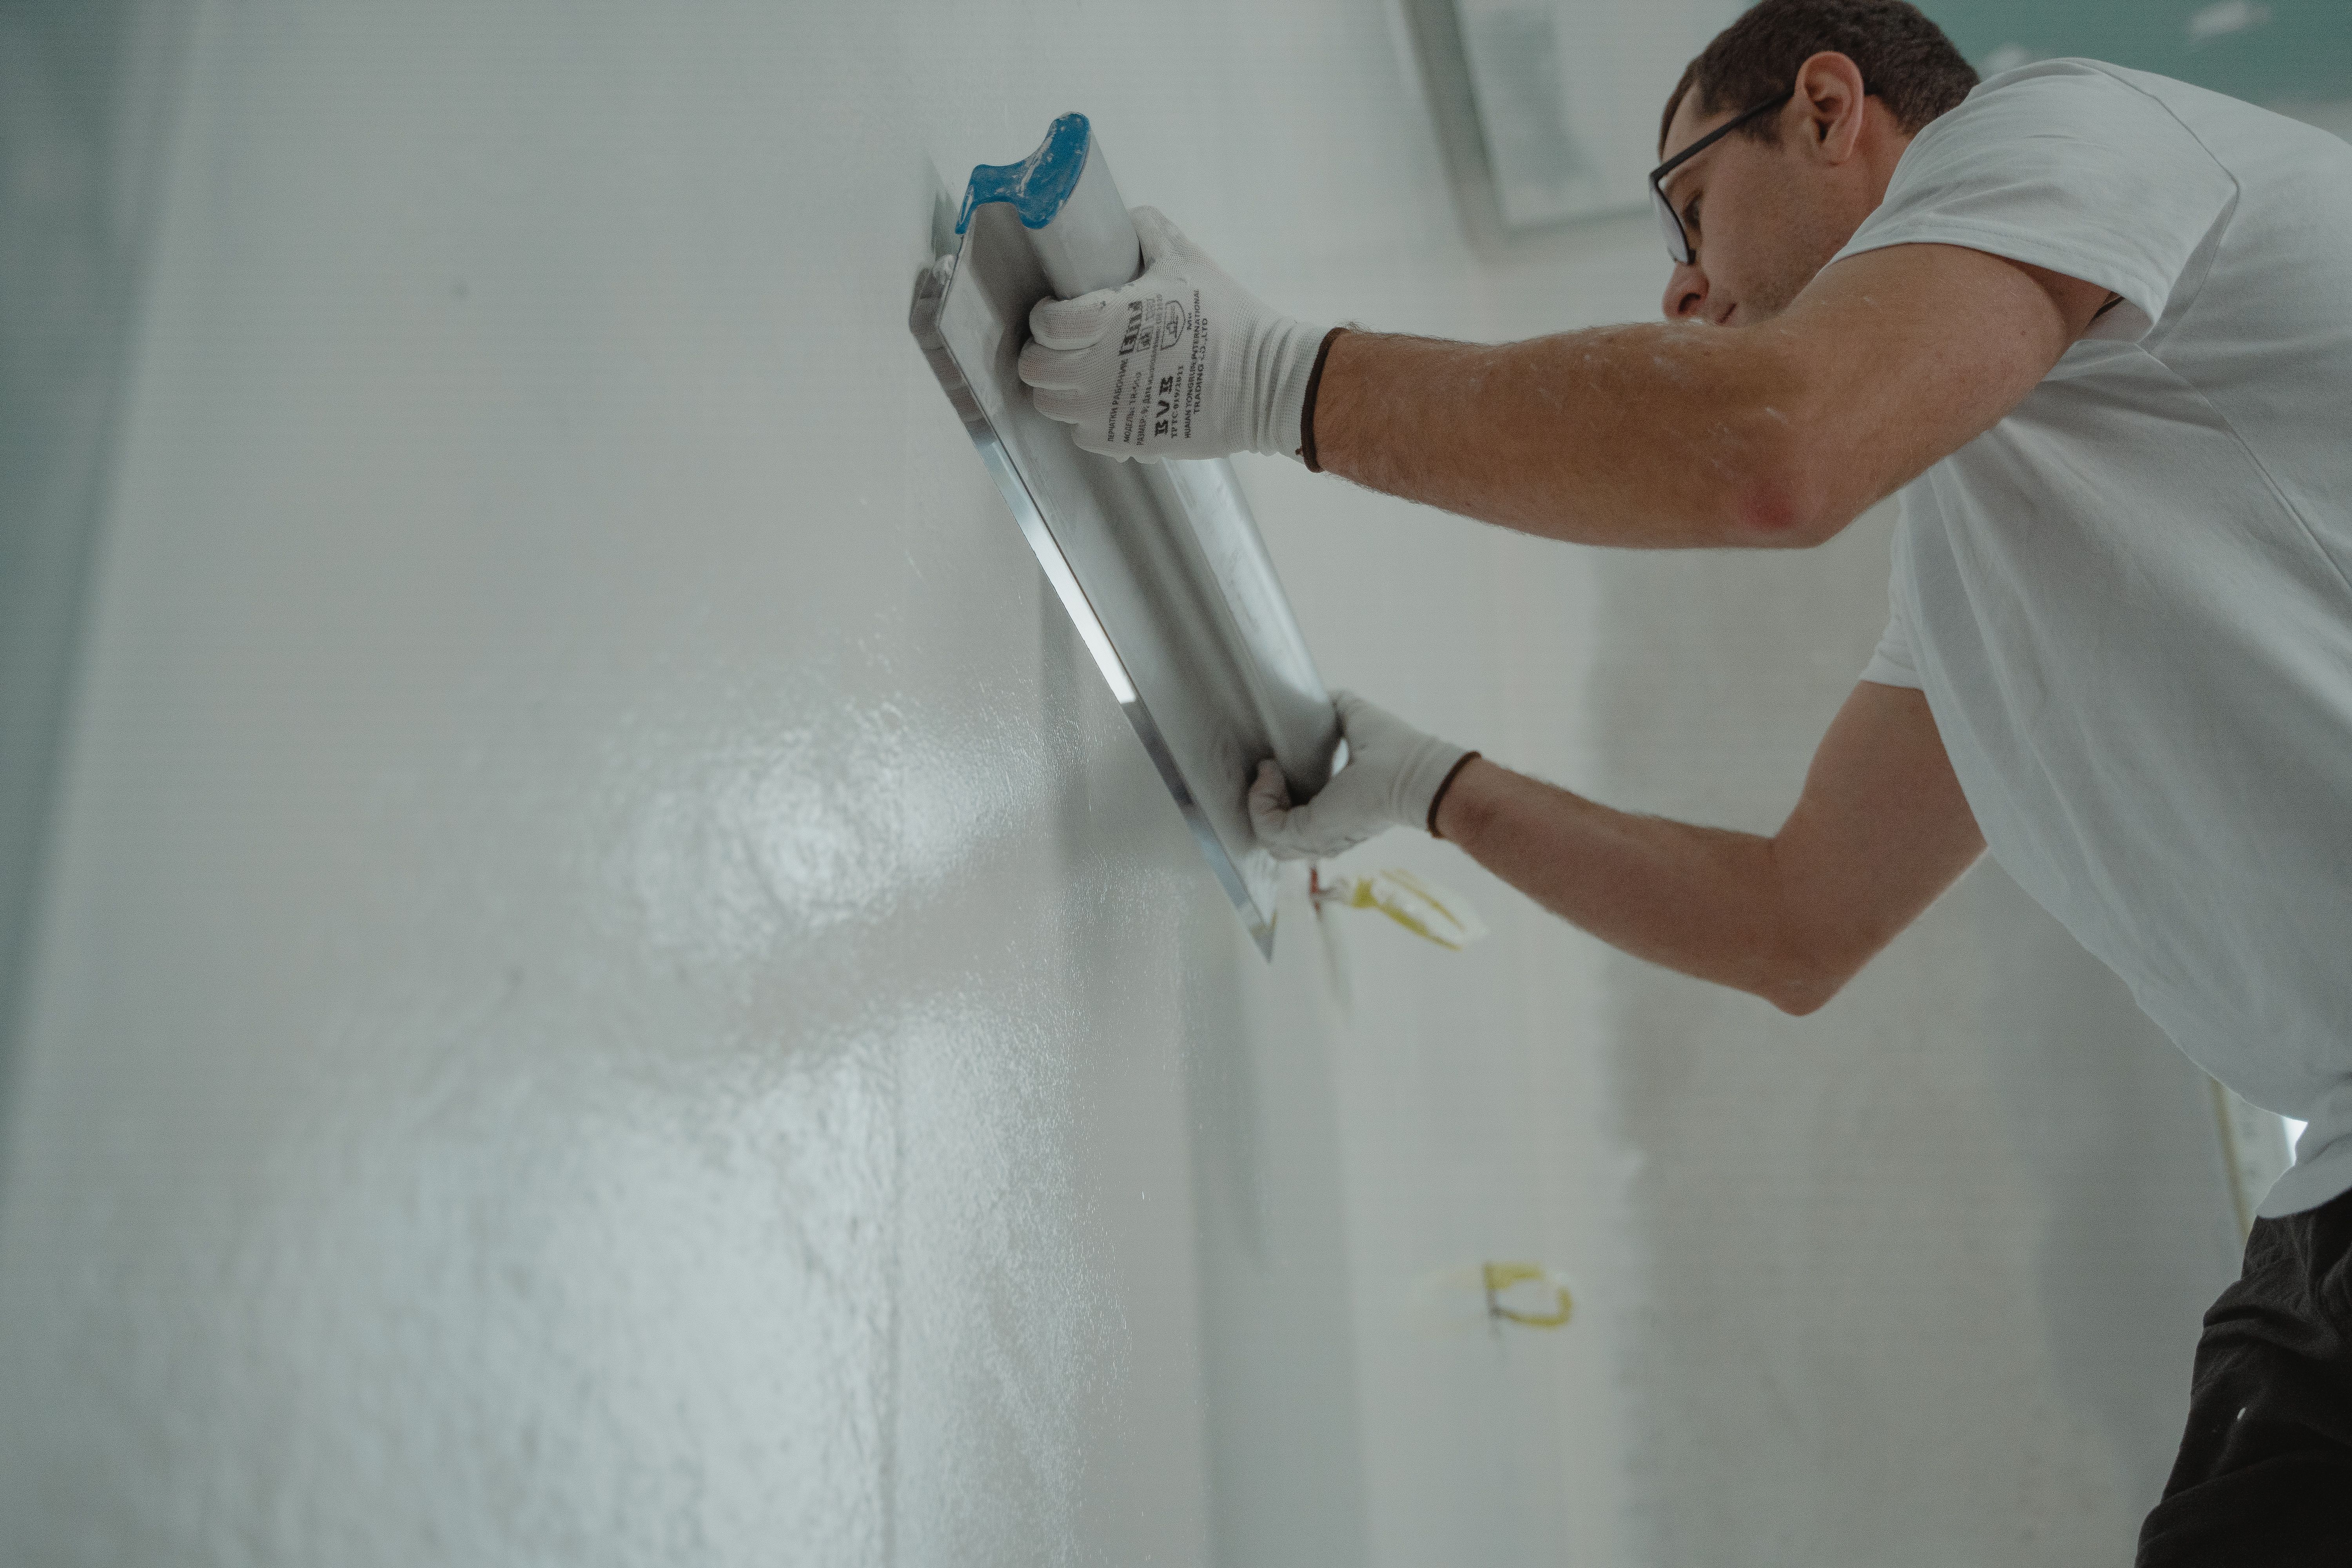
The tub of lightweight, pre-mixed spackle from the hardware store shrinks as it dries and stays softer than the surrounding wall. Traditional plaster is built in distinct coats – scratch, brown, finish – each applied only after the previous one has set, as set out in ASTM C926, the standard specification for plaster application. The US National Park Service’s Preservation Brief 21 is direct about the consequence: one-coat patching is generally not recommended because it produces a dished, concave surface that becomes obvious the moment it is painted. A proper repair rebuilds the layers to match the wall’s thickness and laps each one beyond the last, so new work feathers into old.
Water-damaged plaster also needs its substrate sorted first. If the lath has rotted or the keys have gone, new plaster has nothing to hold. This is the part homeowners most often miss, and it is why a proper Plaster Repair in Melbourne starts with the wall behind the plaster, not the surface in front of it.
Then there is curing. Plaster does not so much dry as hydrate, and it needs moisture and time to reach strength. Trade guidance is to cure it slowly and keep it damp, not to rush it with a heater or a fan, which drives the water out too fast and cracks the patch. Traditional gypsum-base plaster over timber can keep curing for around 30 days before it should be painted. Paint it early and you trap water in the wall – the same failure mode as painting over a damp patch.
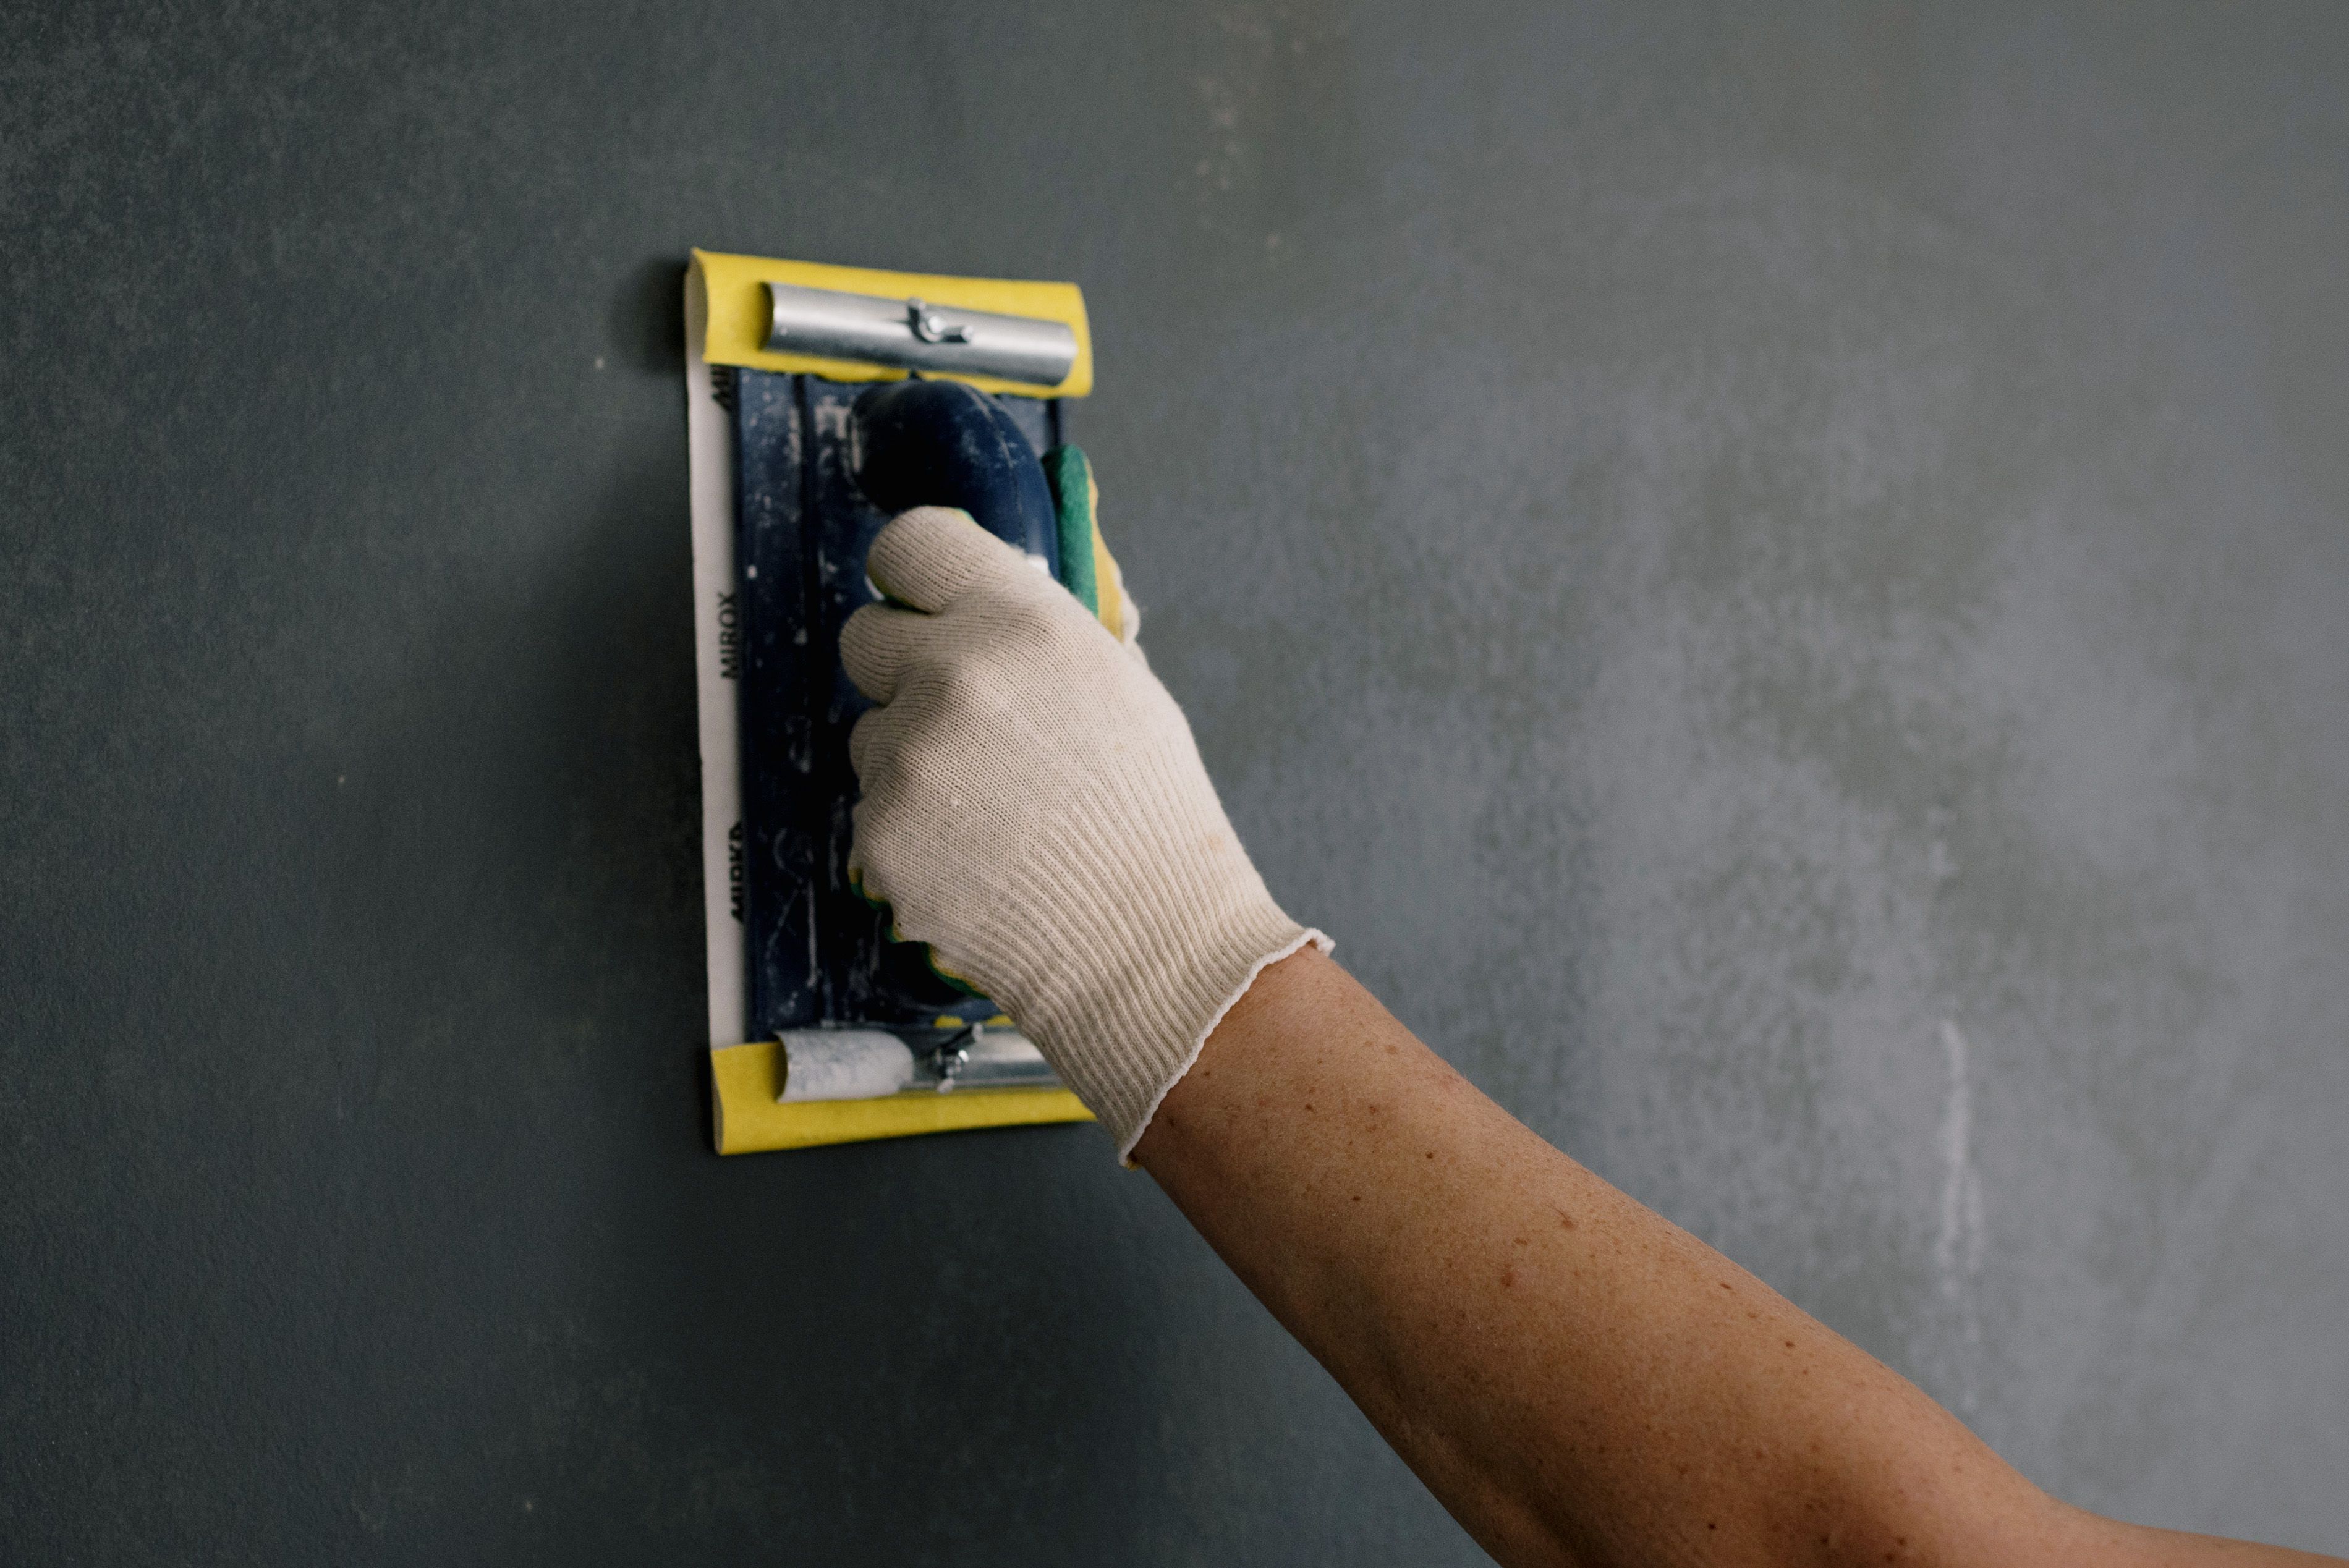
Finally, texture and light. A flat patch in a textured wall, or one that has been over-sanded until it scuffs the surrounding paint, will show under a side-on light even when it is physically flat. Feathering and texture matching are the difference between a repair you can see and one you cannot.
When a DIY patch really is the right call
I am not going to argue that every plaster problem needs a professional. That would be convenient for a plasterer and wrong for you. If the damage is small, dry, isolated and somewhere nobody looks – a nail hole behind a wardrobe, a shallow scrape in a dark hallway, a single small hole in a wall that passes all three checks above – mixing a little filler and sanding it flat is a perfectly sensible weekend job. Even the restoration companies who make their money on bigger work say so: the national franchise Patch Boys lists hairline cracks under an eighth of an inch and minor dings as fair game for homeowners.
So where do I draw my line? Not at size. At cause. The five signs above share one thing: each describes a wall that is moving, wet, or no longer bonded. Those conditions defeat a patch no matter how carefully you spread it, and the patch hides the evidence you would otherwise use to catch the problem early. A large hole in a dry, solid, low-visibility wall is a much better DIY candidate than a thumb-sized soft spot in a bedroom.
Here is the decision I would actually put to you. You can spend an afternoon and twenty dollars patching a crack that will reopen next winter – or you can spend an hour working out where the water or the movement is coming from, and postpone the whole discussion. One restoration firm’s own numbers make the stakes plain: a crack that could be patched for under $200 can climb into the thousands once it becomes a full wall replacement. I know which option saves money. I also know which one feels more satisfying on a Saturday, which is exactly why so many of these patches get done.
Frequently asked questions
How do I know if a wall crack is cosmetic or structural?
Tap and press the wall first. A crack under 1 mm that has not moved in a year is usually cosmetic. A crack wider than 5 mm, one that keeps widening, or one accompanied by a bulging wall or sticking doors and windows is outside the range footings are designed for and should be assessed.
Can I just fill a cracked plaster wall with spackle?
You can, and for a small dry crack it will hold well enough. Two caveats: pre-mixed spackle shrinks as it dries and stays softer than the wall, so it can show under light; and if the crack is moving, no filler will stop it returning. If the same crack comes back after filling, that is your answer.
Do I need to fix a leak before repairing the plaster?
Yes. Plaster is porous and holds moisture, so repairing over an active leak seals water inside the wall. The US EPA’s rule of thumb is to dry wet materials within 24 to 48 hours and fix the water source, or the problem – mold included – returns.
Why does my plaster sound hollow when I tap it?
A hollow ring means the plaster has separated from the lath or board behind it. The keys that hold it in place have failed, usually because of moisture or movement. Filler will not fix it, because there is nothing solid for the filler to bond to.
How long should a plaster repair last, and when can I paint it?
Done properly, with the cause addressed and the layers rebuilt, a repair can outlast the surrounding wall. Rushing the paint is the common mistake: new plaster keeps releasing moisture for weeks, and traditional gypsum plaster over timber may keep curing for around 30 days. Paint too soon and you trap that moisture, which shows up later as bubbling or flaking.
How this article was put together
I set out to answer one question: how a homeowner can tell the difference between plaster damage worth patching and plaster damage that signals a problem behind the wall. The severity thresholds come from the Victorian Building Authority’s guide to foundation movement and from Australian Standard AS 2870; the moisture and mold guidance comes from the US Environmental Protection Agency. Material and layering requirements are from ASTM C926 and the US National Park Service’s preservation guidance. All sources were checked in September 2026. Where I give a recommendation in the decision table, it is marked as my own judgment rather than a sourced fact.