

Timber floors rarely fail dramatically. They fade quietly along the route you walk a hundred times a day, pick up a scratch near the back door that you stopped noticing weeks ago, and slowly go grey under the kitchen chairs. Because you live with the floor, the decline happens at roughly the same pace as your tolerance for it – which is exactly why most owners only register how tired their boards look when a visitor, a cleaner or an agent says something.
By then the damage has often moved past the coating and into the wood itself, turning what could have been a light refresh into a full sanding job. The encouraging part is that timber is stubbornly forgiving: in Melbourne, people pull carpet off boards that have been hiding under it for decades and bring them back to life. The trick is catching a floor at the right stage – because each stage needs a different fix, and the price difference is large.
Start here: the two-minute water test
Before you weigh the five signs, run the check the trade uses to settle most arguments. Put a few drops of water on the floor somewhere it actually gets walked on and wait a minute or two.
- If the water beads up and sits on the surface, the coating is still doing its job. The floor may look tired, but it’s sealed – and it may only need a maintenance coat rather than a sanding.
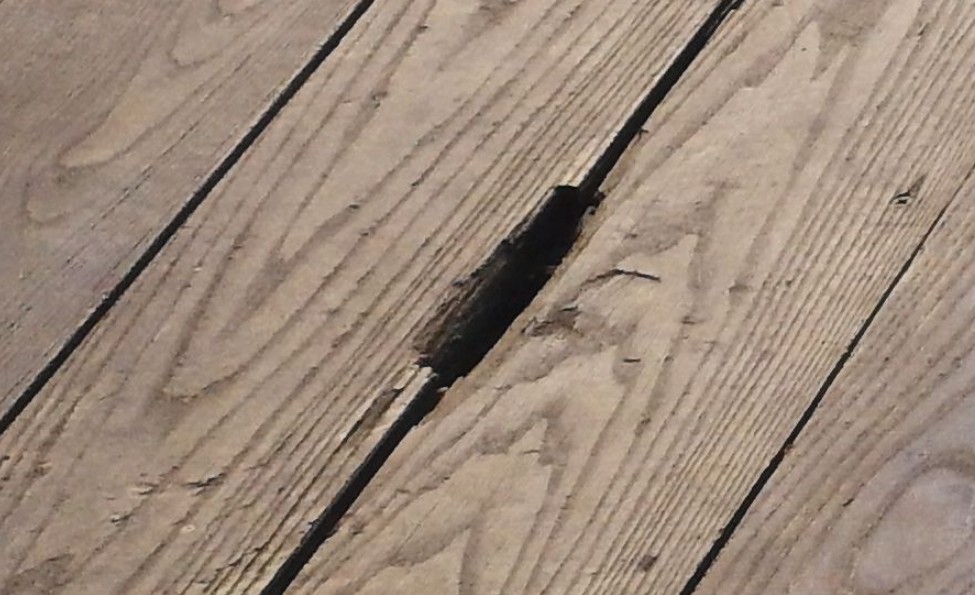
- If the water soaks in and darkens the wood, the finish has worn through and bare timber is exposed. That changes the plan entirely: a polish applied over bare wood will show patches, so sanding back is the only clean fix.
The test measures the only thing that really matters – whether the wood underneath is still protected – and it’s the same check recommended in the timber industry’s own floor care and maintenance guidelines. Hold the result in your head as you read the five signs below, because every one of them comes back to that single question.
The five signs your floor needs attention
1. The shine is gone – and cleaning won’t bring it back
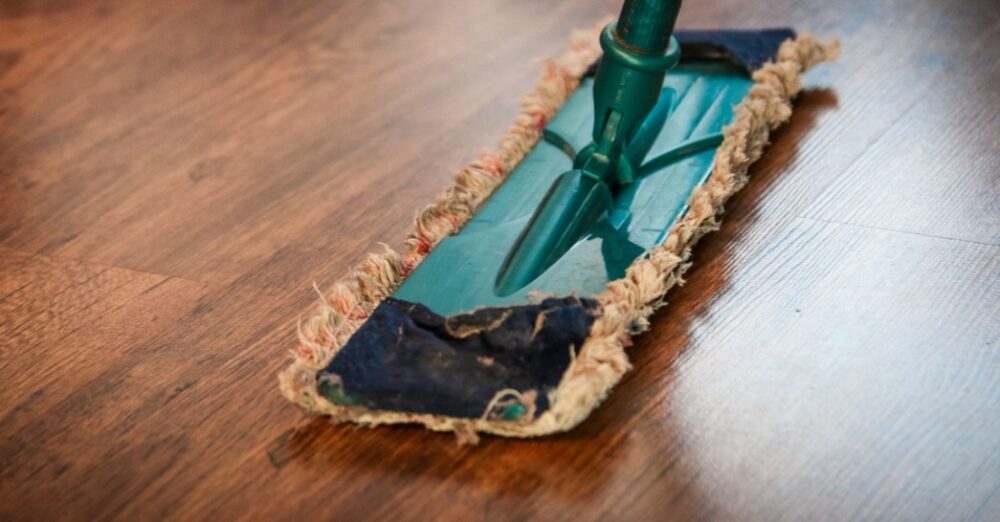
You’ve swept, anti-static mopped and used the cleaner the coating manufacturer recommends, and the floor still looks flat and lifeless. That isn’t a cleaning problem. Coatings wear from the top down, and the first thing to go is the gloss – usually along the busiest paths first, while the floor under the couch stays shiny.
Dullness is the cheapest warning sign on this list and the most frequently misdiagnosed. This is where I watch owners lose money: they book a full sand-and-polish for a floor that only needed a maintenance coat, because the floor looked tired and the quote said sanding. Try the damp-cloth check before you commit to anything. Wipe a wet cloth across the dullest spot and look at it while it’s still wet. If the floor looks great wet, the wood underneath is fine, and a light buff and recoat will almost certainly restore it.
Verdict: if the water test passed, start with a recoat – scuff the old finish and apply a fresh topcoat. It removes no timber, costs a fraction of a full sand and is usually a one-day job. If the water soaked in, skip straight to the full treatment below.
2. Scratches you can feel, not just see
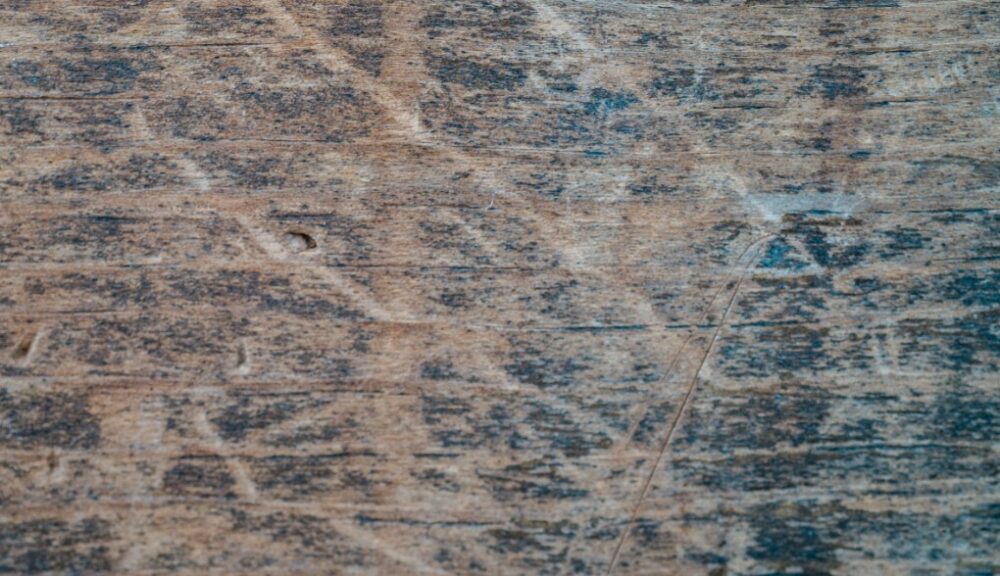
Shallow scratches that catch the light but glide cleanly under a fingernail live in the coating only. They’re cosmetic, and a new topcoat will all but erase them. Scratches that snag your nail are a different species: they’ve cut through the finish into the wood, and the exposed fibres will darken with every mopping and season of foot traffic.
Pet claws are the most common culprit, followed by furniture legs without pads and grit tracked in from outside. Run your nail across the worst marks. Catching means the scratch is deep enough that recoating won’t hide it – the surface needs to be sanded level first.
Verdict: finish-level scratching is a recoat; nail-catching scratching is a sand.
3. Grey or dark lanes where people actually walk
The stripe between the couch and the television. The hallway between the bedrooms. The path from the kitchen to the back door. When you can see a distinctly duller, greyer route running through an otherwise acceptable floor, that’s not dirt – it’s oxidised wood. The finish has worn completely through in those lanes and the bare timber underneath has been dulled and dirtied by years of foot traffic.
You can’t scrub this off, and the recoat window has closed here: lay a fresh coat over grey exposed wood and the patches show straight through. The good news is the grey is surface-deep. Sanding lifts it and reveals bright timber underneath, which is why a full refinish on a tired-but-sound floor is so satisfying to watch. What you can’t do is keep waiting – every week of traffic on unprotected wood drives grit deeper into the grain and makes the eventual job harder.
Verdict: grey traffic lanes mean the finish is gone in those areas. This one is a full sand.
4. Water rings, dark stains and pet marks that won’t lift
There are two kinds of stain here and they need different responses. White rings or milky patches are moisture trapped in the finish layer, not the wood – they can often be buffed out or dealt with at recoat time. Dark marks are more serious. If water has sat long enough to pass through the coating and into the fibres, it leaves grey-black oxidation that cleaners will never touch. Look around plant pots, pet water bowls, the front of the dishwasher and the gap under the back door; those are where it starts.
Surface-level staining sands out cleanly in most cases. The warning flag is when a stain has gone very dark or the board feels soft or hollow underfoot – that can mean moisture has damaged the board structurally, and sanding over it would be polishing a problem you haven’t fixed. In that situation, boards get replaced first and the whole floor is sanded as one so the repairs disappear.
Verdict: white rings, recoat. Dark stains, sand – with board repair first if the timber is soft or cupped.
5. The finish is flaking and the boards feel rough
Peeling or flaking finish is adhesion failure – the coating has let go of the timber beneath it, usually because it was applied over a contaminated or damp surface years ago. Splinters and rough, raised edges are the loud end of the spectrum: the protective layer has broken down entirely and the wood is taking direct abuse.
This is the point where many people conclude the floor is beyond saving and price up a replacement. That’s usually the wrong call for solid boards – a rough, flaking floor sands back to bare timber like any other, and what’s underneath is generally in far better shape than the surface suggests. The real reason to pause is if the roughness comes with movement: boards that squeak, flex or cup from moisture are a structural issue, not a cosmetic one, and they need repair before any sander touches them.
Verdict: flaking and splinters are a full sand; flaking plus structural movement is repair first, sand second.
Sanding vs polishing: what you’re actually paying for
Before comparing quotes, it helps to clear up the vocabulary, because in Melbourne “sanding and polishing” is used as one phrase for the complete job – and the word “polishing” also gets applied to the lighter maintenance recoat. A genuine full sand means machines take the old finish and a whisper of timber off the boards, the surface is levelled and repaired, and fresh coats are applied. A recoat, sometimes called a buff and coat, scuffs the existing finish and lays a new topcoat over it without removing any wood at all.
The table below is a rough guide to what each service involves. Prices are indicative Melbourne figures from 2026 trade pricing guides; the only number that matters is a written quote from someone who has actually looked at your floor.
| Service | What happens | Right call when | Indicative cost (2026) | Downtime |
|---|---|---|---|---|
| Buff and recoat (“maintenance polish”) | Old finish lightly scuffed, fresh topcoat applied; removes no timber | Dull but sealed floor, finish-level scratches, water test beads | Roughly $15–$35 per m² | About a day |
| Full sand and polish | Sanded back to bare timber, repairs and gap filling, optional stain, two to three fresh coats | Fingernail-catching scratches, grey traffic lanes, dark stains, flaking finish | Roughly $45–$65 per m²; staining adds more | Three to five days, plus curing before furniture returns |
For scale, a standard three-bedroom house with roughly 80 square metres of flooring typically runs somewhere in the $2,500–$4,500 range for a full professional sand and finish in 2026 – versus several times that for ripping the boards up and laying new ones. That gap is why refinishing is so often the financially sane choice.
A floor loses a little of itself every time it’s sanded – spend the sands wisely
Here’s the number nobody puts on the quote: a full sand removes roughly a millimetre of the board, and that timber never comes back. Most solid floors carry enough material above the tongue for six to eight full sandings across their entire life, which sounds like plenty until you remember that a floor should be outlasting the people who bought it.
In older Melbourne homes this deserves even more respect. Those honey-toned boards in a Victorian terrace or Edwardian home are usually Baltic pine, imported as ship ballast and laid a century or more ago. A typical original board is around 19–21mm thick, and sanding it more than a handful of times over its life starts to flirt with the tongue and groove. There’s a genuine school of thought – led by heritage specialists and restorers who work on these floors daily – that an old Baltic floor shouldn’t be chased to perfection at all. As Melbourne heritage-floor specialist Clint Fudge puts it, “those gaps aren’t defects; they’re the story of the timber.” Film finishes like polyurethane are also the reason a floor eventually needs full stripping; an oil finish can be spot-maintained for decades without a sander ever being booked.
I’d push back on the purist position only where it becomes an excuse for neglect. A hundred-year-old floor with grey lanes, cupped edges and dog scratches isn’t “developing patina” – it’s deteriorating, and a careful full restoration brings it back to life while still leaving plenty of sanding life in reserve. The honest middle ground is what most good contractors actually recommend: polish in the dull-but-sealed stage, sand only when you can see or feel bare wood, and on an old floor choose a finish that matches how long you plan to stay in the house. If the floor is genuinely wrecked, sand it – that’s what the extra millimetres are there for.
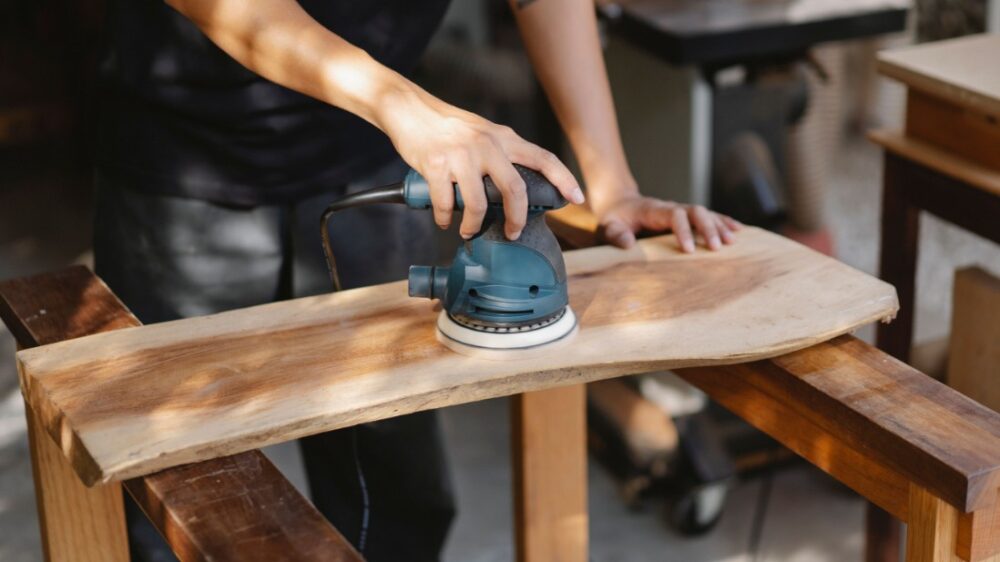
The same logic applies to engineered flooring, just more strictly. A premium board with a thick timber wear layer can take a sand or two. A cheap one with a thin veneer can’t take any – one pass with a drum sander blows through to the plywood core, and no amount of polishing fixes that. If you don’t know what’s underfoot, find out before anyone books machinery.
Frequently asked questions
How often should timber floors be sanded and polished?
Condition matters more than the calendar. With normal family traffic, most solid floors need a full sand only every 10–25 years, and a maintenance recoat every three to five years in between can push the sanding schedule out further. Homes with dogs, kids or high-traffic entryways wear faster; quiet, low-traffic rooms can go decades. Recoat while the finish is intact, and you’ll rarely need the drum sander.
Can engineered timber floors be sanded?
Only if the top timber layer is thick enough. A board with a 4–6mm wear layer can usually take one or two careful sandings; a 2mm layer allows at most one light pass; anything thinner should never be sanded at all. If you’re unsure, a professional assessment is worth the call-out fee, because sanding through a thin veneer is an irreversible mistake.
Water-based or oil-based finish?
Water-based polyurethane dries fast, has low odour and stays clear, which makes it the popular choice for busy, occupied homes. Oil-based finishes give a warmer, amber tone but cure more slowly and yellow over time. Hardwax and curing oils are the most repairable – worn areas can be spot-touched rather than stripped – but they ask more of you in ongoing maintenance, as the Australian Timber Flooring Association’s guide to coating choices spells out. Match the finish to your lifestyle, not just the colour swatch.
Is floor sanding dusty? Can I stay home?
Modern dustless sanding equipment captures the vast majority of the dust at the machine, which is a huge improvement on the old methods. Still expect noise, moving furniture and a coating that needs time to cure. Many Melbourne owners choose to stay elsewhere for the few days of the job; if you stay, your contractor should tell you exactly when the floor can be walked on and when heavy furniture can return.
Should I sand my floors before selling?
A refreshed floor genuinely lifts a home’s presentation, and buyers notice the difference between glossy boards and a dull grey lane the moment they walk in. But if you’re selling soon, a recoat is often the smarter spend – it improves appearance for a fraction of a full restoration’s cost, and you won’t be around to enjoy the extra years a full sand buys.
What if my boards are cupped, squeaky or soft?
Those are repair problems wearing a cosmetic disguise, and sanding won’t fix them – it can make them worse. Cupping or movement points to a moisture or subfloor issue that has to be resolved first, and soft boards usually need replacing. Get the structure sorted, then refinish the whole floor so new and old boards blend into one surface.
The bottom line
Ask yourself one question and the rest follows: is the wood still protected? If yes, your floor is at the cheap stage – recoat it, budget a couple of hundred square metres rather than thousands, and move on. If the coating is gone and you can see grey wood, stains or splinters, a full sand and polish is still a rescue, not a eulogy, provided you act before moisture turns surface wear into board damage.
If you’re in Melbourne and any of these five signs rang true, the most valuable step is to have someone walk the floor with you before you spend a dollar on machinery or quotes. A reputable Timber Floor Sanding and Polishing Melbourne specialist will tell you which stage your boards are actually at – even when the honest answer is the cheaper recoat. Your floor has been holding your household up for years. It deserves to be diagnosed properly, not guessed at.
A note on the figures: cost ranges in this article are indicative only, drawn from Australian trade pricing guides published in 2026 (including hipages’ floor sanding guide and Melbourne-specific 2026 price guides) and current as of September 2026. Sanding-lifetime and board-thickness figures are based on industry estimates for typical solid and engineered floors; individual boards vary. Prices move, so treat any number here as a starting point for quotes, not a promise.