

You open a video recorded during a weekend trip, and everything sounds exactly as you remember. You can hear people talking, music playing in the background, and even the wind blowing against the microphone. There is just one problem: the screen is completely black.
When a video has sound but shows a black screen, the problem usually involves an unsupported video codec, a media player error, graphics processing issues, or damage to the video file itself. In many cases, the original footage is still there and can be made playable again.
The trick is to determine whether something is wrong with the video or with the software trying to play it before attempting a repair.
Why Does a Video Have Sound but No Picture?
A video file is more complicated than its file extension suggests. An MP4, for example, is a multimedia container that can hold separate video and audio streams, subtitles, metadata, and timing information.
When you press play, your media player reads these components and decodes them for simultaneous playback. If the audio stream works but the video stream cannot be decoded or displayed, you may hear everything without seeing a single frame.
Several problems can produce this result:
-
Missing or incompatible video codecs.
-
Outdated graphics card drivers.
-
Hardware acceleration errors.
-
Damaged video frames or file structures.
-
Interrupted downloads or file transfers.
-
Incorrect video export settings.
How the problem started can offer a useful clue. A video that stopped working immediately after being transferred from a camera may have suffered file corruption. A video that plays perfectly on your phone but shows a black screen on your laptop is more likely to have a compatibility problem.
Find Out Whether the Video File Is Actually Corrupted
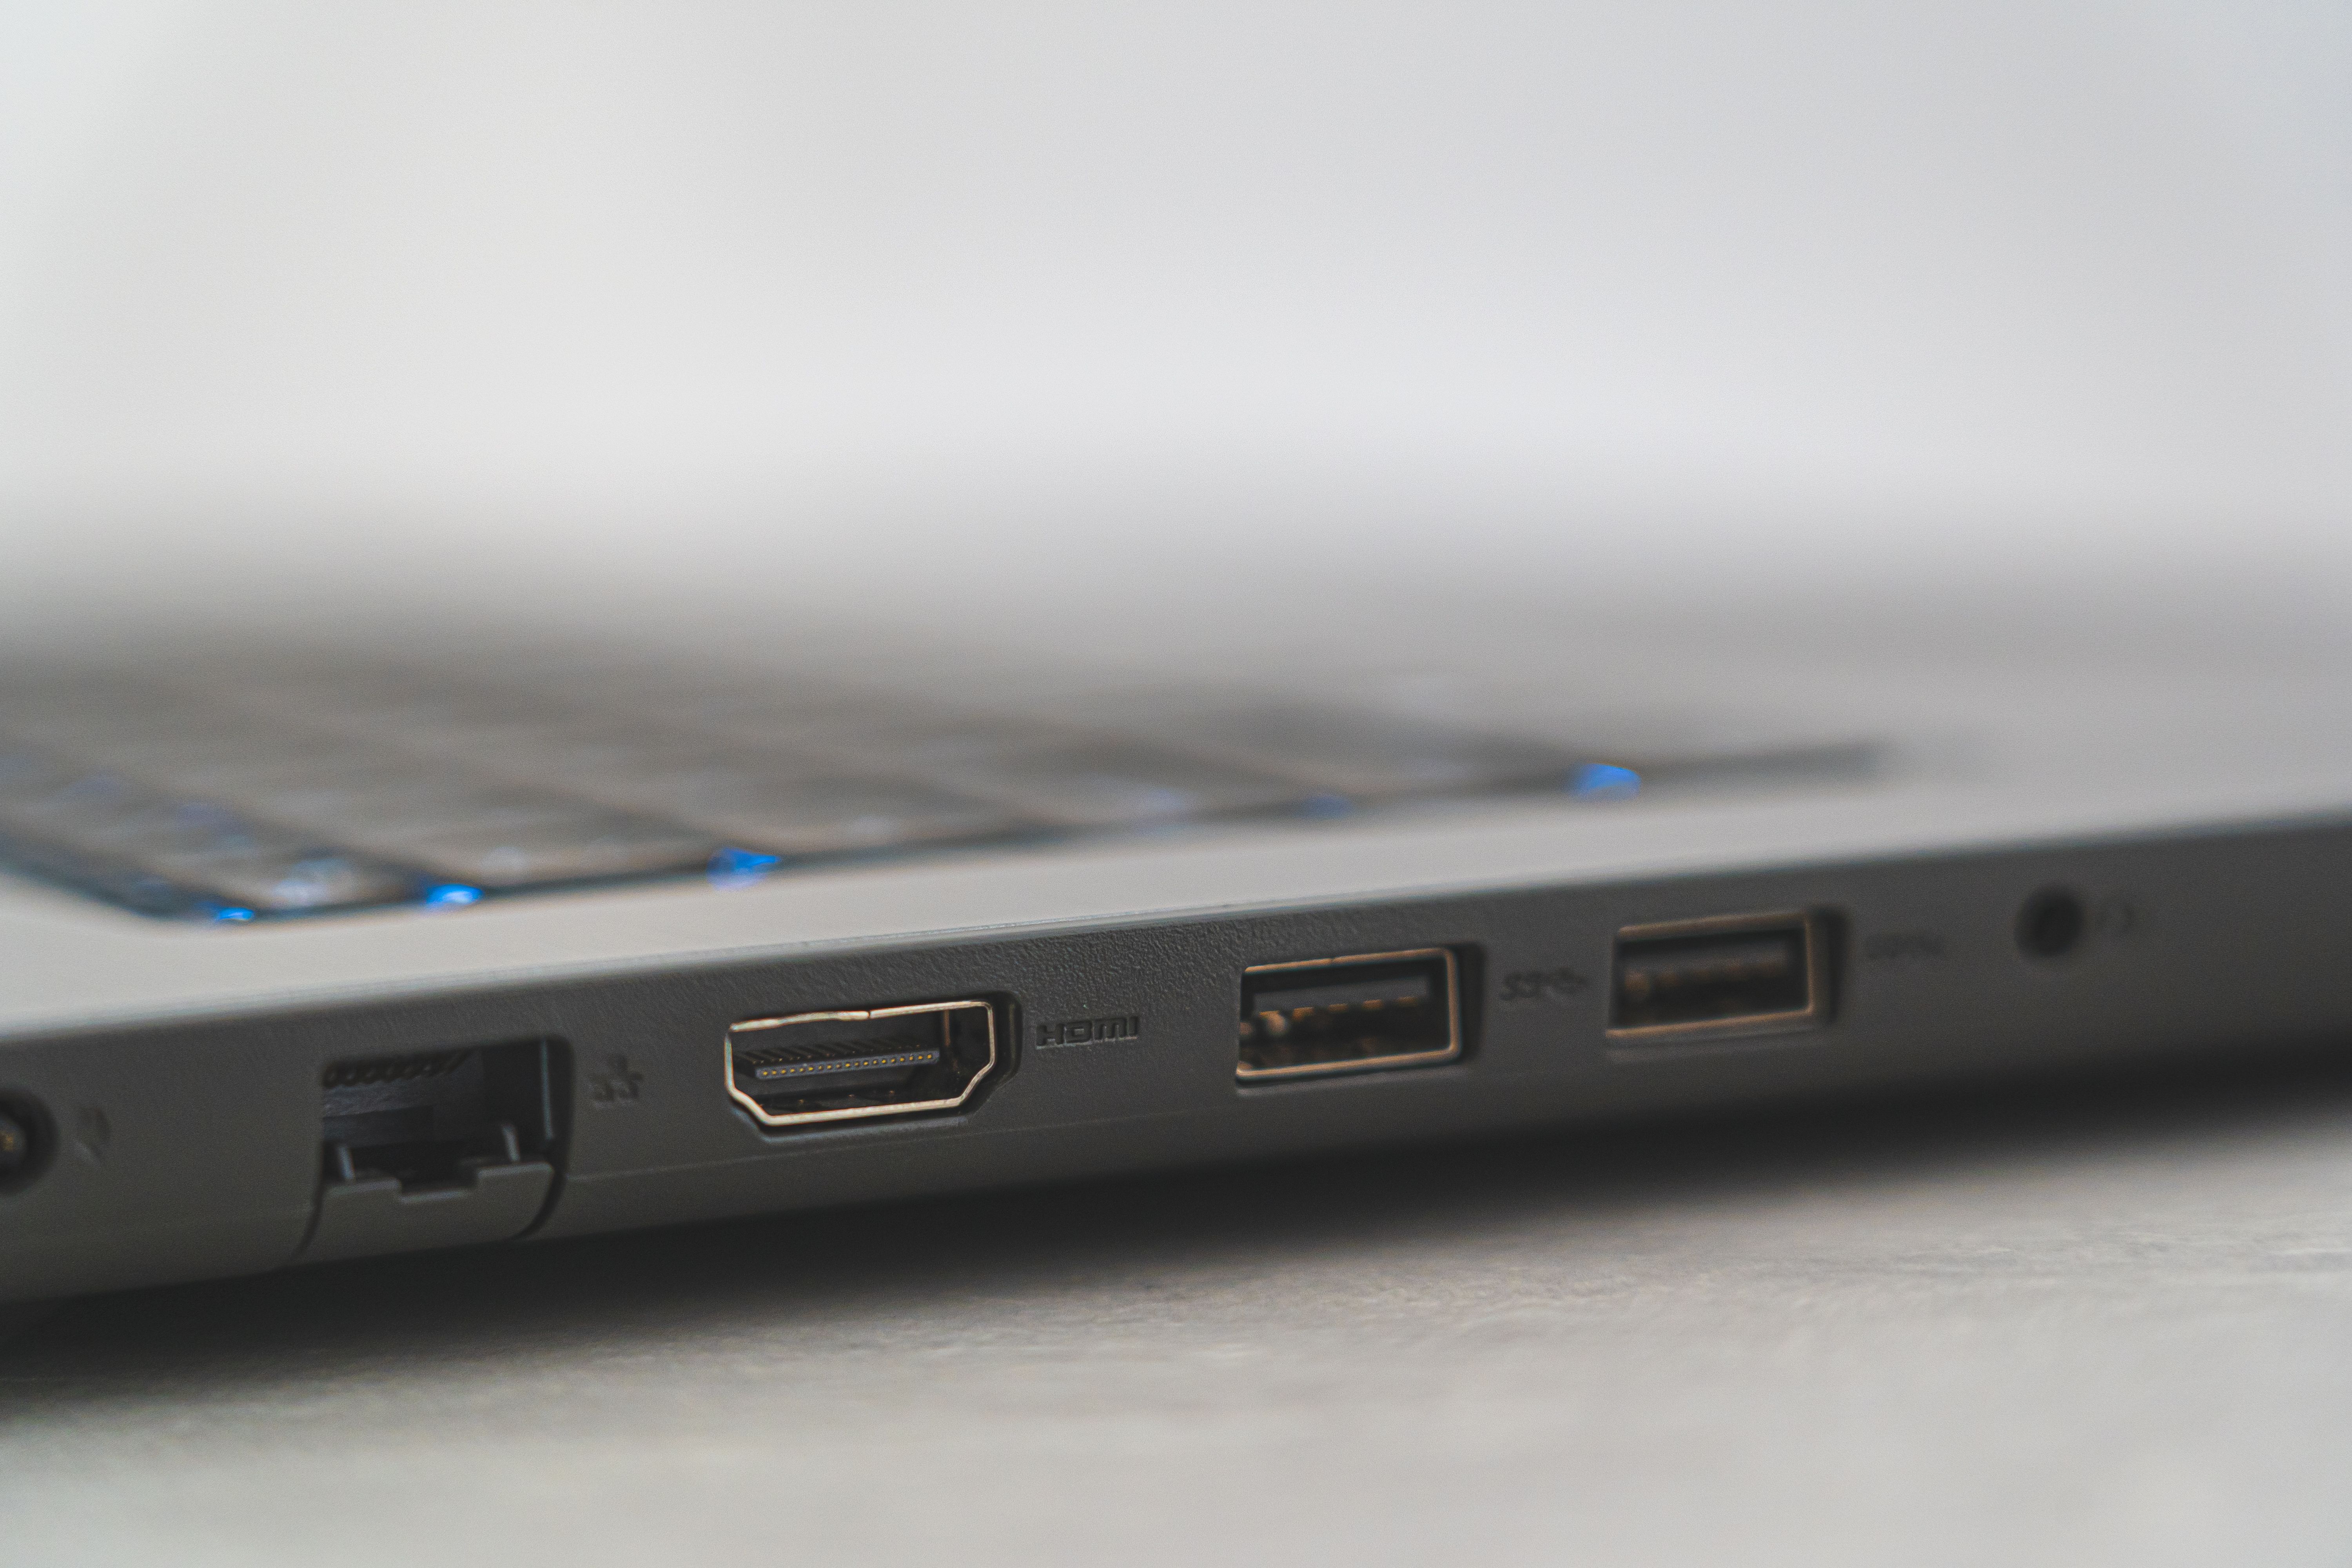
Check the laptop and display connections as you test whether playback problems follow the video or the device.
Before installing new software or changing system settings, run a few simple tests.
Open the problematic video on another device. If possible, try it on a different computer, smartphone, or tablet. Then play another video recorded using the same camera and settings.
The results can help narrow down the cause.
What Happens During Playback
Most Likely Explanation
These tests are not definitive, but they can save considerable time. There is little reason to repair an MP4 file that plays normally on another device.
Try Playing the Video in a Different Media Player
Your operating system’s default media player may not support every video format and compression method.
VLC Media Player is a useful alternative because it includes its own decoders for a wide range of video and audio formats. It can often play files that built-in media players struggle to recognize.
Download VLC from its official website, open the problematic video, and check whether the picture appears.
Also, open the Video menu and check that a video track is selected. Occasionally, the player may have video playback disabled or may be using the wrong track.
If everything works in VLC, the file probably does not need repairing. You can continue using VLC or investigate why your preferred media player cannot display it.
Check Whether You Are Missing a Video Codec
Two videos can have the same MP4 extension while using entirely different compression methods.
One might use H.264, a widely supported video codec, while another uses H.265, also known as HEVC. Both files look identical in your Downloads folder, yet an older computer might play one without difficulty and show only a black screen for the other.
To find out which codec your video uses in VLC:
-
Open the problematic video.
-
Select Tools from the top menu.
-
Click Codec Information.
-
Locate the video stream and check the codec name.
On Windows, additional codec support is available through official Microsoft Store extensions, including HEVC, AV1, and VP9.
Avoid downloading random codec packs from unfamiliar websites. Installing the specific extension you need or switching to a compatible media player is usually a better approach.
Disable Hardware Acceleration in Your Media Player
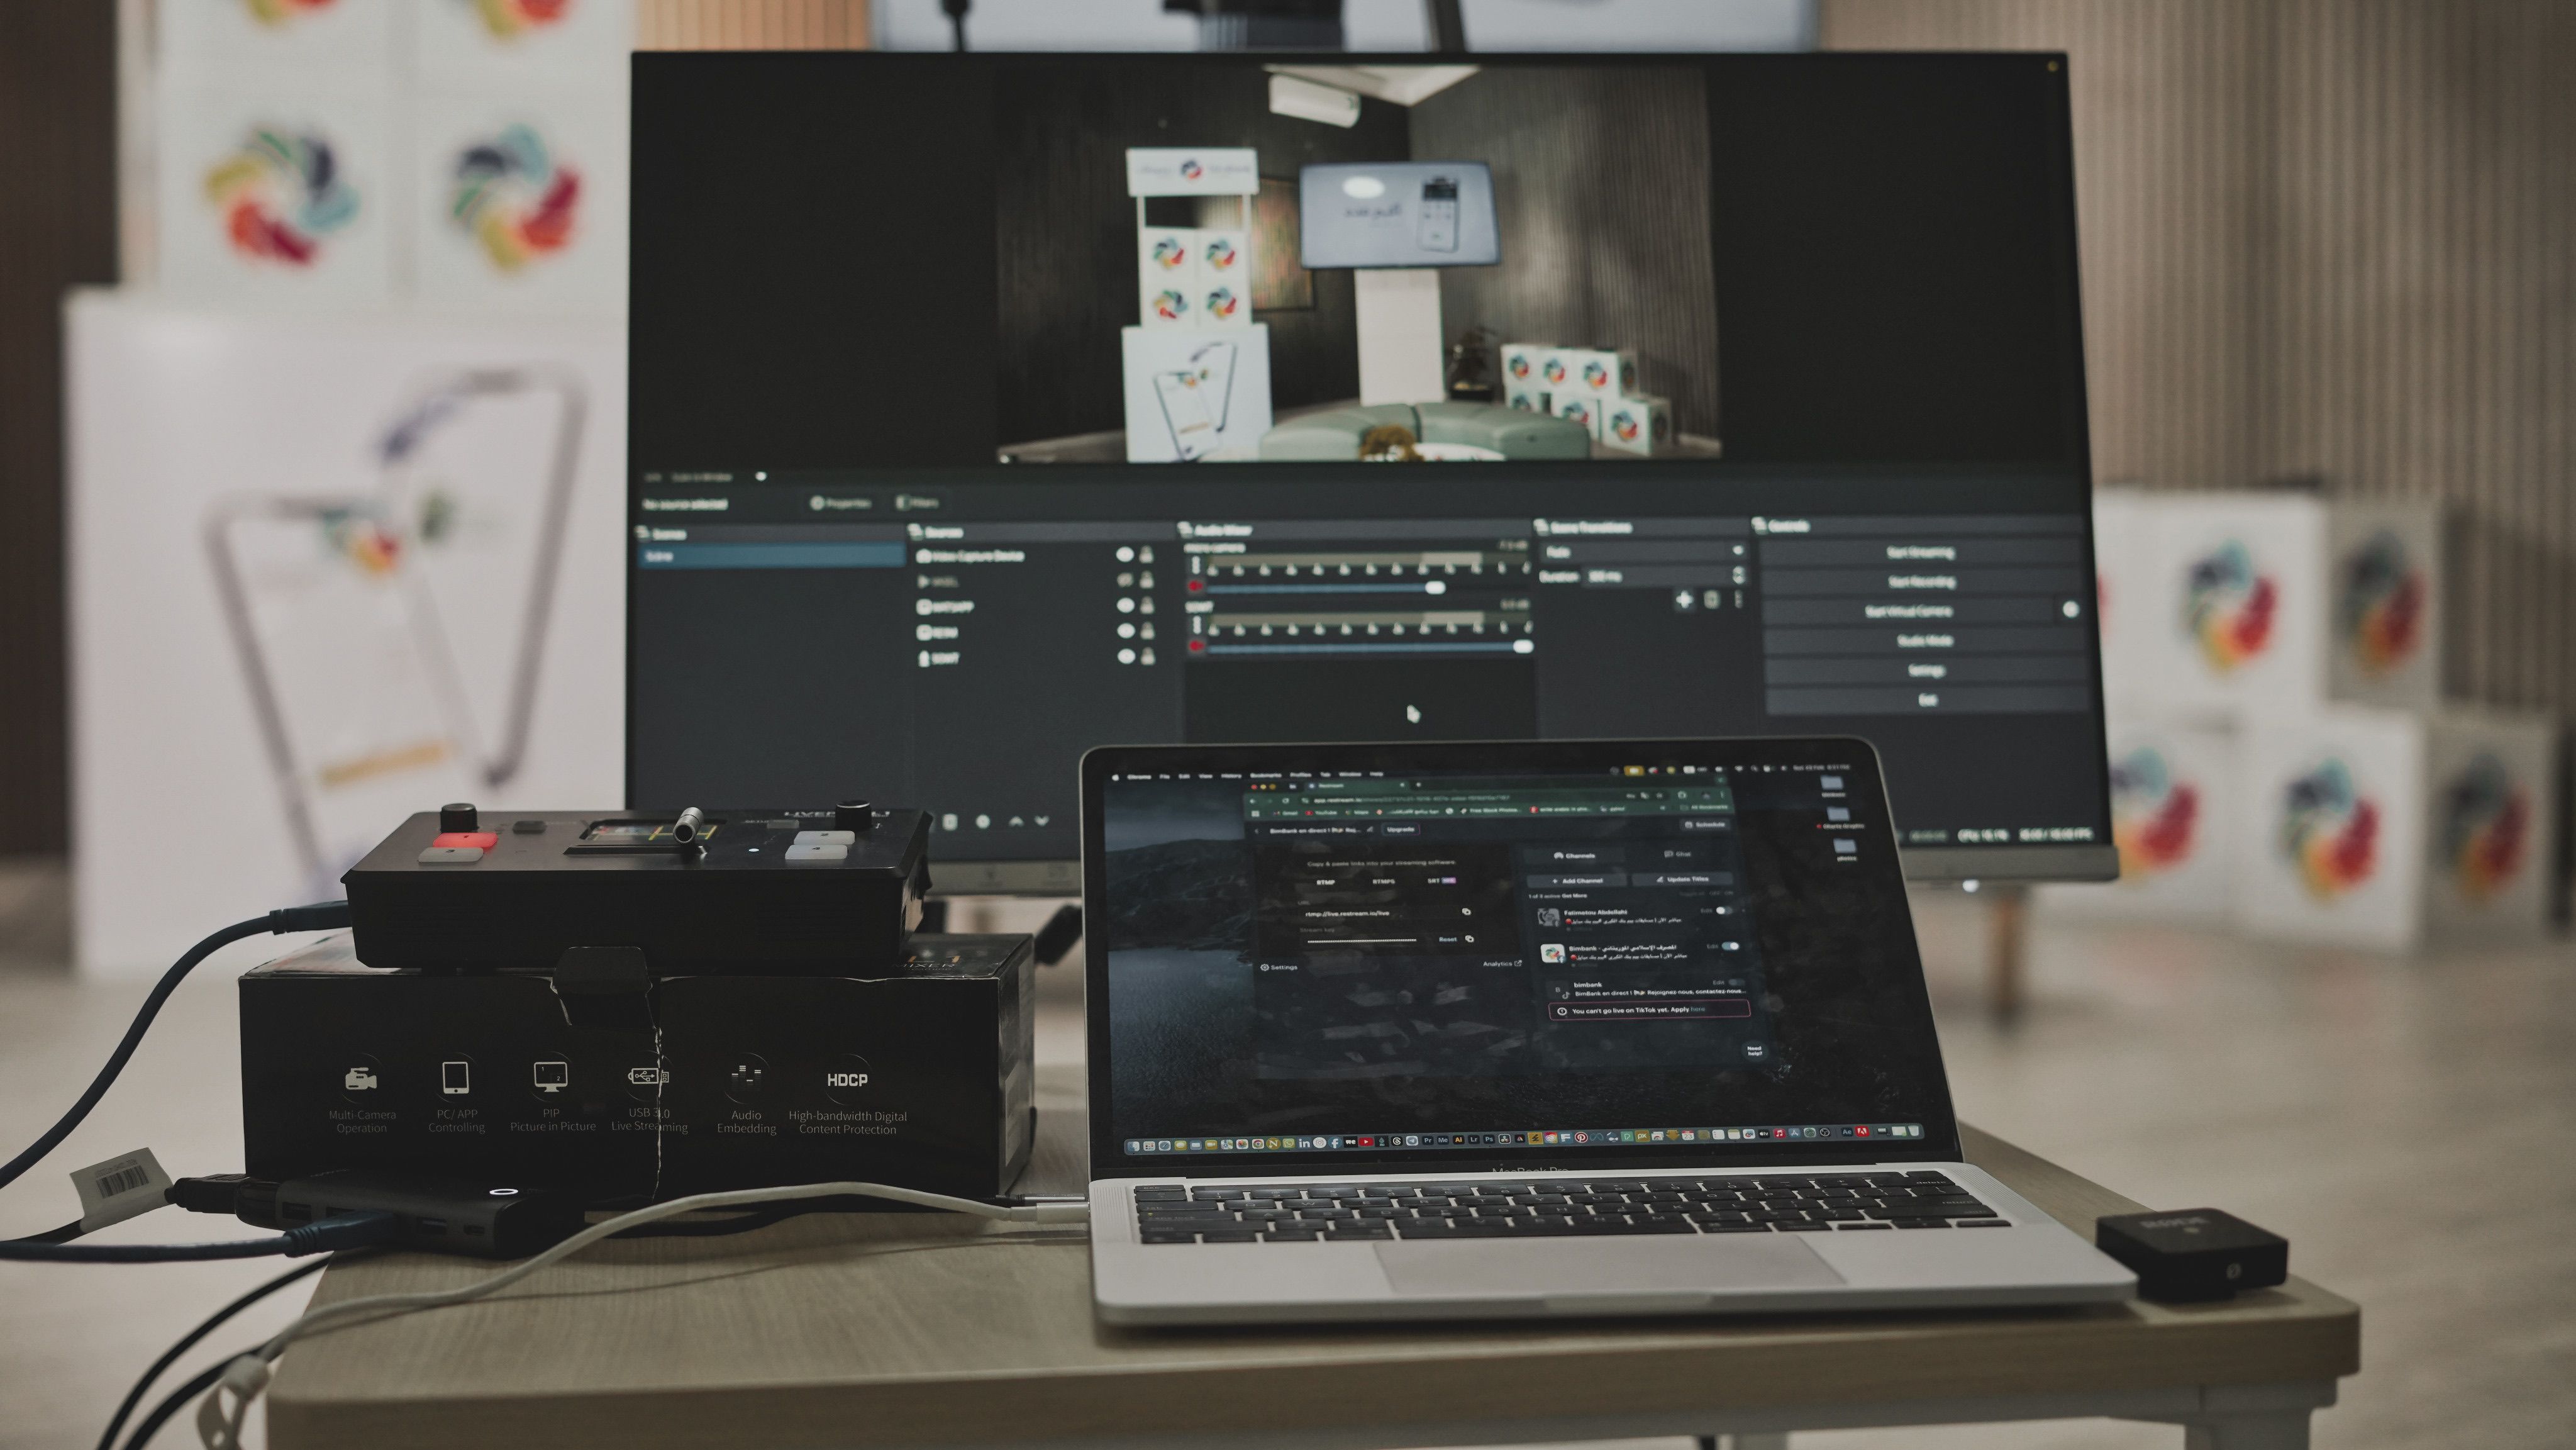
Testing playback on a laptop and external monitor can help isolate display and graphics issues.
Modern computers often use their graphics processing unit to decode video. This reduces the workload on the main processor and makes high-resolution playback more efficient.
However, problems with graphics drivers or GPU-based decoding can occasionally cause a black screen while the audio continues normally.
You can test whether hardware acceleration is responsible by temporarily disabling it in VLC on Windows:
-
Launch VLC Media Player.
-
Navigate to Tools > Preferences.
-
Select the Input / Codecs tab.
-
Find Hardware-accelerated decoding.
-
Change the setting to Disable.
-
Save your changes and restart VLC.
Play the video again.
If the picture returns, the problem was likely related to hardware decoding rather than file corruption. Updating your graphics drivers may allow you to re-enable hardware acceleration afterward. For further details, see VideoLAN’s guide to VLC hardware-acceleration settings.
Keep in mind that software-based decoding can increase processor usage, particularly when playing 4K or high-frame-rate footage.
Repair a Corrupted MP4 Video That Has Sound but No Picture
Sometimes changing players and updating codecs makes no difference. The video remains black on every device, even though its audio plays normally.
This can happen when an interrupted recording, sudden power loss, or incomplete file transfer damages the video stream while leaving the audio intact.
If you need to repair corrupt MP4 online without installing additional software, Stellar Online Video Repair is one option worth considering. The browser-based service is designed to address structural damage in video files, including playback problems associated with corruption.
According to Stellar’s documentation, the service supports popular formats such as MP4, MOV, AVI, MKV, and WMV, including footage recorded on smartphones, drones, action cameras, and digital cameras.
The repair process is relatively straightforward:
-
Open Stellar Online Video Repair in your browser.
-
Upload a copy of the damaged video.
-
Add a healthy sample video if required.
-
Start the repair process.
-
Preview the repaired footage.
-
Download the resulting file and check its playback.
A sample video is particularly useful when the damaged file lacks important structural information. Ideally, it should come from the same recording device and use the same format, resolution, and recording settings.
Stellar provides free and paid online repair options, with different upload limits and repair allowances.
There are limitations, however. Repair software may reconstruct damaged file structures or make existing video data readable, but it cannot recreate original footage that was never recorded or has been destroyed.
For confidential recordings, consider an offline repair tool rather than uploading sensitive footage to an external server.
Convert the Video Into a More Compatible Format
If your video plays correctly in one application but not another, converting it may solve the compatibility issue.
For example, a smartphone recording encoded in HEVC may be difficult to play on an older laptop. Converting it to H.264 video with AAC audio in an MP4 container can make it accessible on a wider range of devices.
Free applications such as HandBrake can perform this conversion.
Always save the converted video as a separate file. Re-encoding can reduce image quality, depending on the settings you choose, so keeping the original recording gives you more flexibility.
Conversion is primarily a compatibility solution. It is unlikely to help if the software cannot decode any of the original video frames.
Download or Transfer the Video Again
An incomplete file transfer is easy to overlook, especially when the resulting video still has a recognizable filename, thumbnail, or audio track.
If the original footage remains available on your camera, smartphone, memory card, or cloud storage account, try copying it again.
Compare the file sizes of the original and transferred copies. A noticeable difference may indicate that the transfer ended prematurely.
For large video files, use a reliable USB cable or memory card reader rather than an unstable wireless connection. Wait for the transfer to finish before disconnecting the device.
If a fresh copy plays correctly, you can discard the damaged duplicate without attempting further repairs.
What If You Only Get a Black Screen When Streaming Videos?
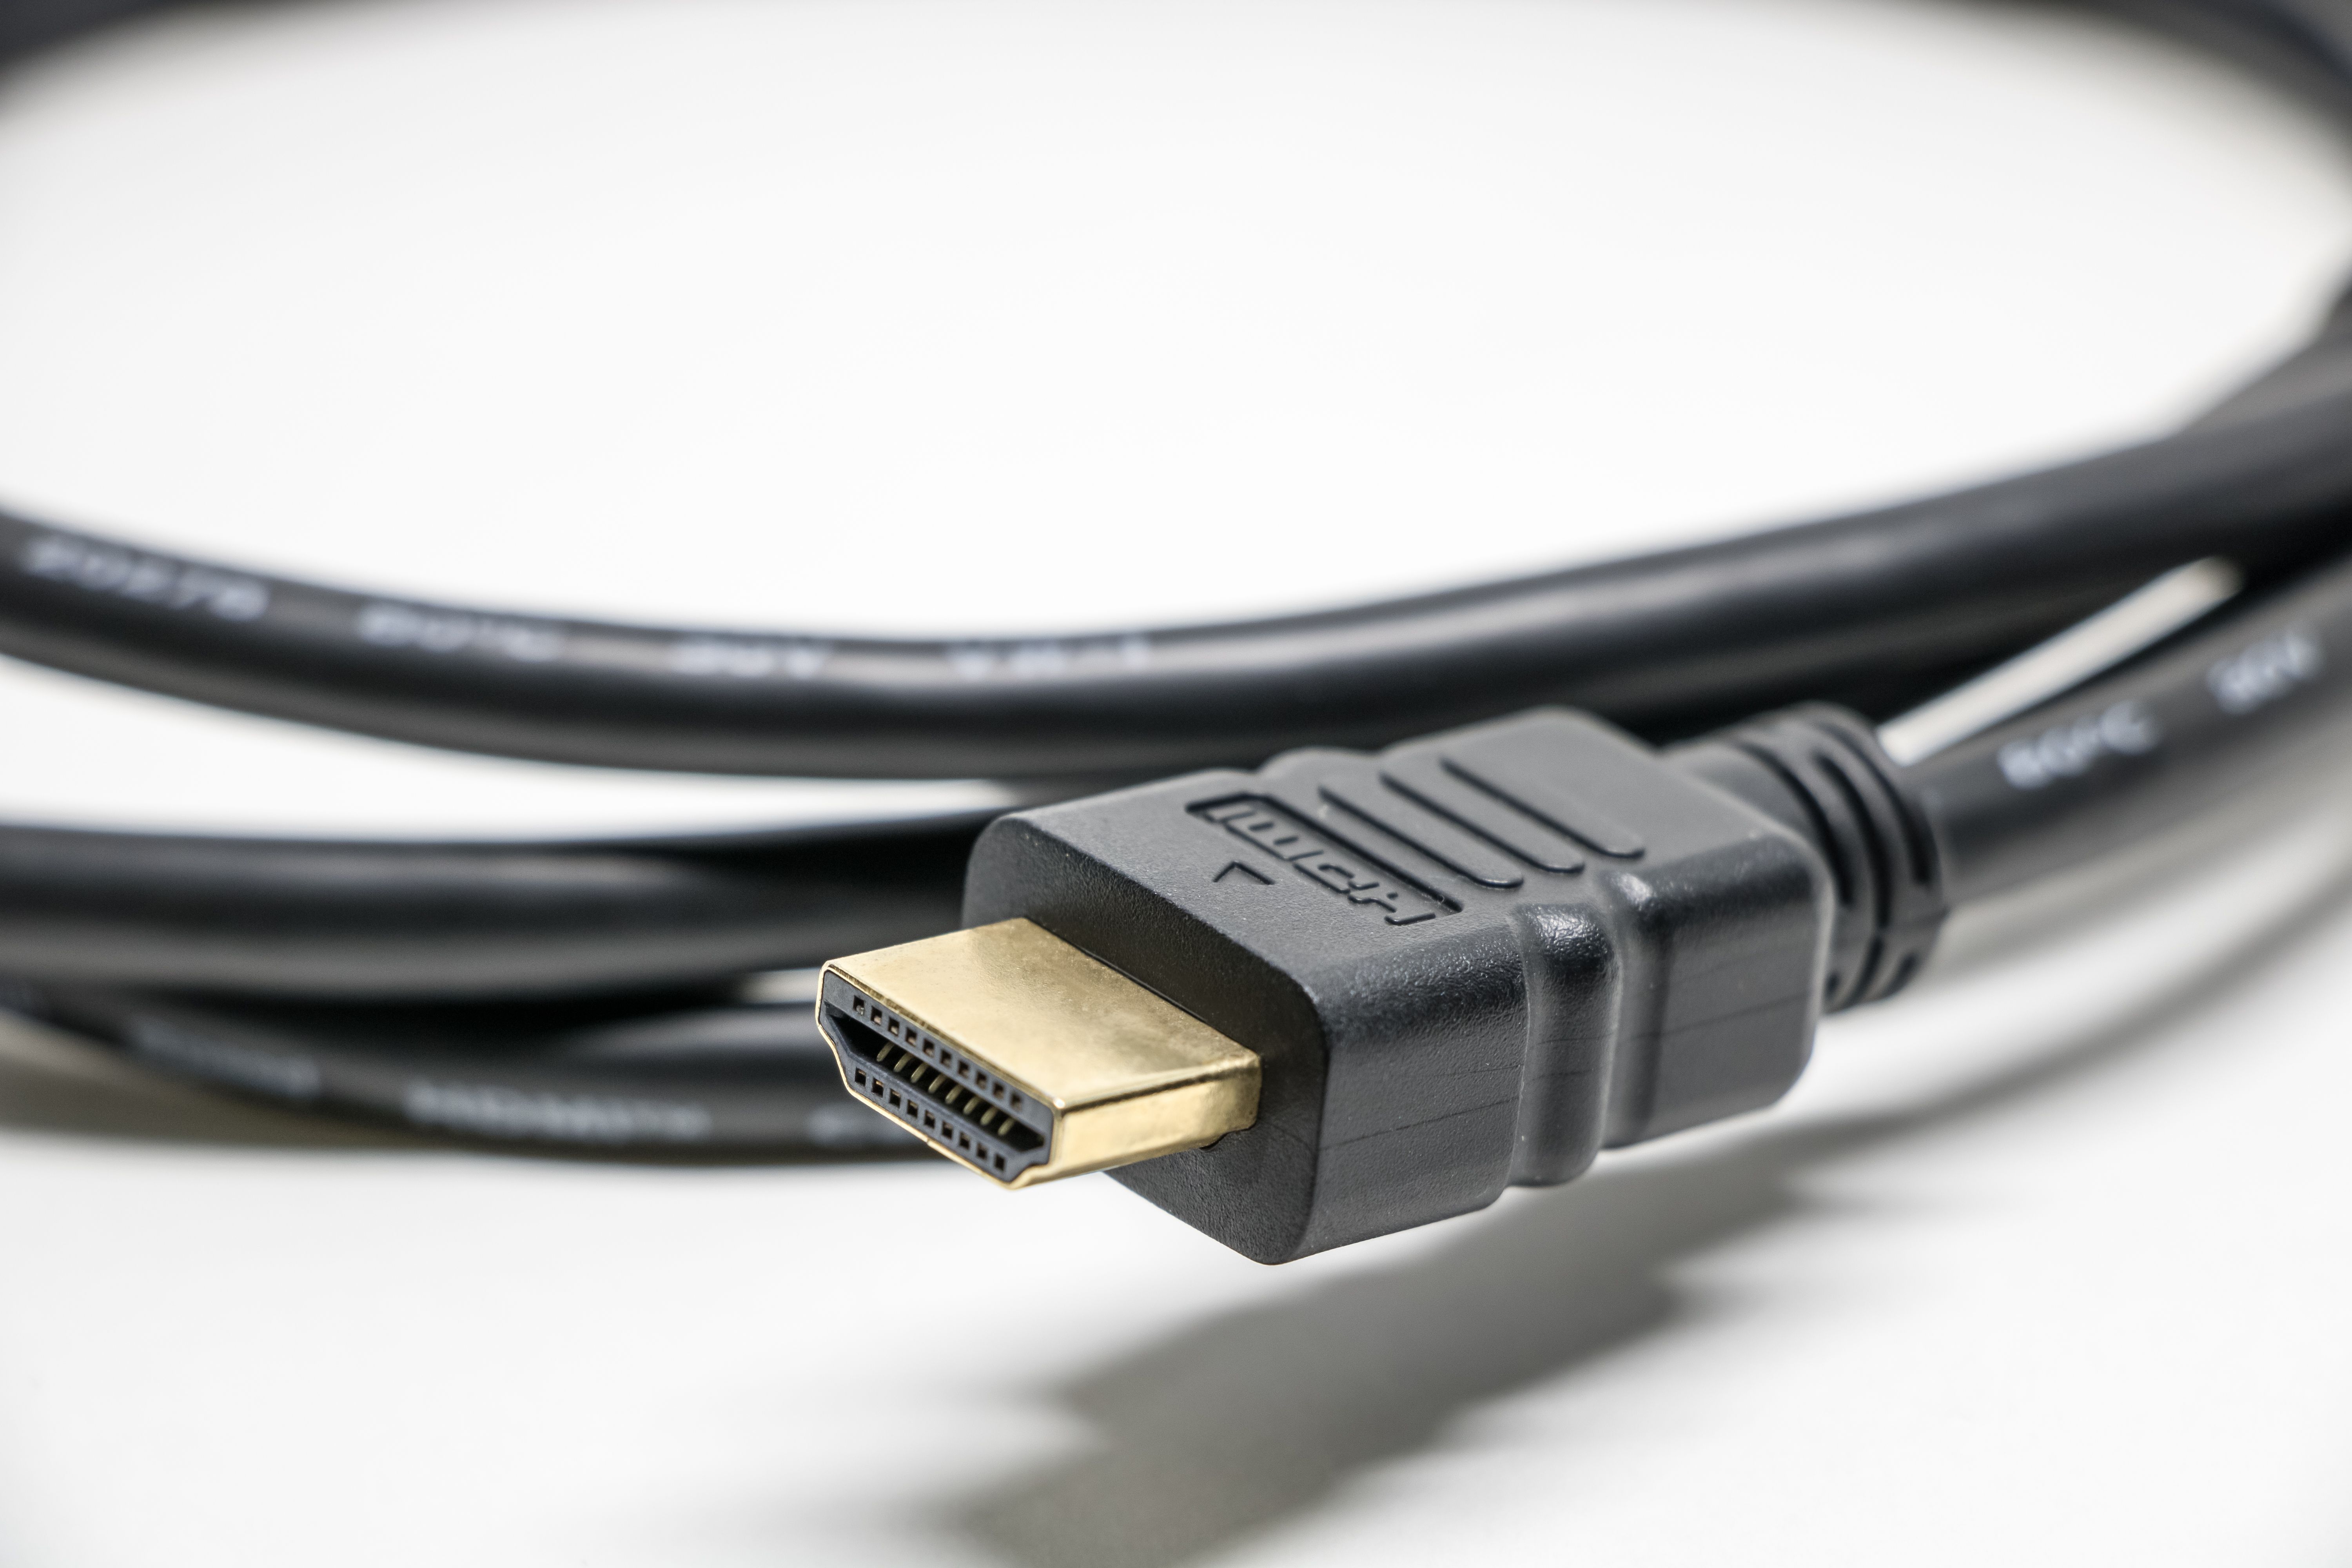
Check the HDMI connection when protected streaming video is blank on an external display.
Problems with YouTube, streaming services, or videos embedded on websites require a different approach because you may not have a damaged local file at all.
Try watching the same video in another browser. If it works, the problem could involve browser extensions, outdated software, graphics acceleration, or an unsupported video decoder.
Temporarily disabling extensions, updating the browser, and changing its graphics acceleration settings may help.
For subscription streaming services, screen recording software or an incompatible external display can also interfere with protected video playback.
In these situations, video repair software will not solve the underlying problem.
How to Prevent Videos From Becoming Corrupted
Video corruption often occurs during recording, transferring, or saving a file. A few practical habits can reduce the likelihood of losing important footage.
-
Stop recording before turning off your camera or removing its memory card.
-
Keep camera batteries charged during long recording sessions.
-
Avoid disconnecting storage devices during file transfers.
-
Verify that exported videos play correctly before deleting source footage.
-
Use reliable memory cards suitable for your camera’s recording bitrate.
If you regularly work with professional footage, preserve the original camera files even after creating edited or compressed versions. They may contain information that is no longer available in the exported video.
Conclusion
A video that has sound but shows a black screen is not necessarily beyond repair. Missing codecs, incompatible media players, and graphics decoding problems are often responsible.
Start by testing the video on another device, checking its codec, and adjusting playback settings. If the problem follows the file across multiple devices, a dedicated video repair service such as Stellar Online Video Repair may help restore playable footage.
Whatever method you choose, keep an untouched copy of the original video until you have confirmed that the problem is resolved.